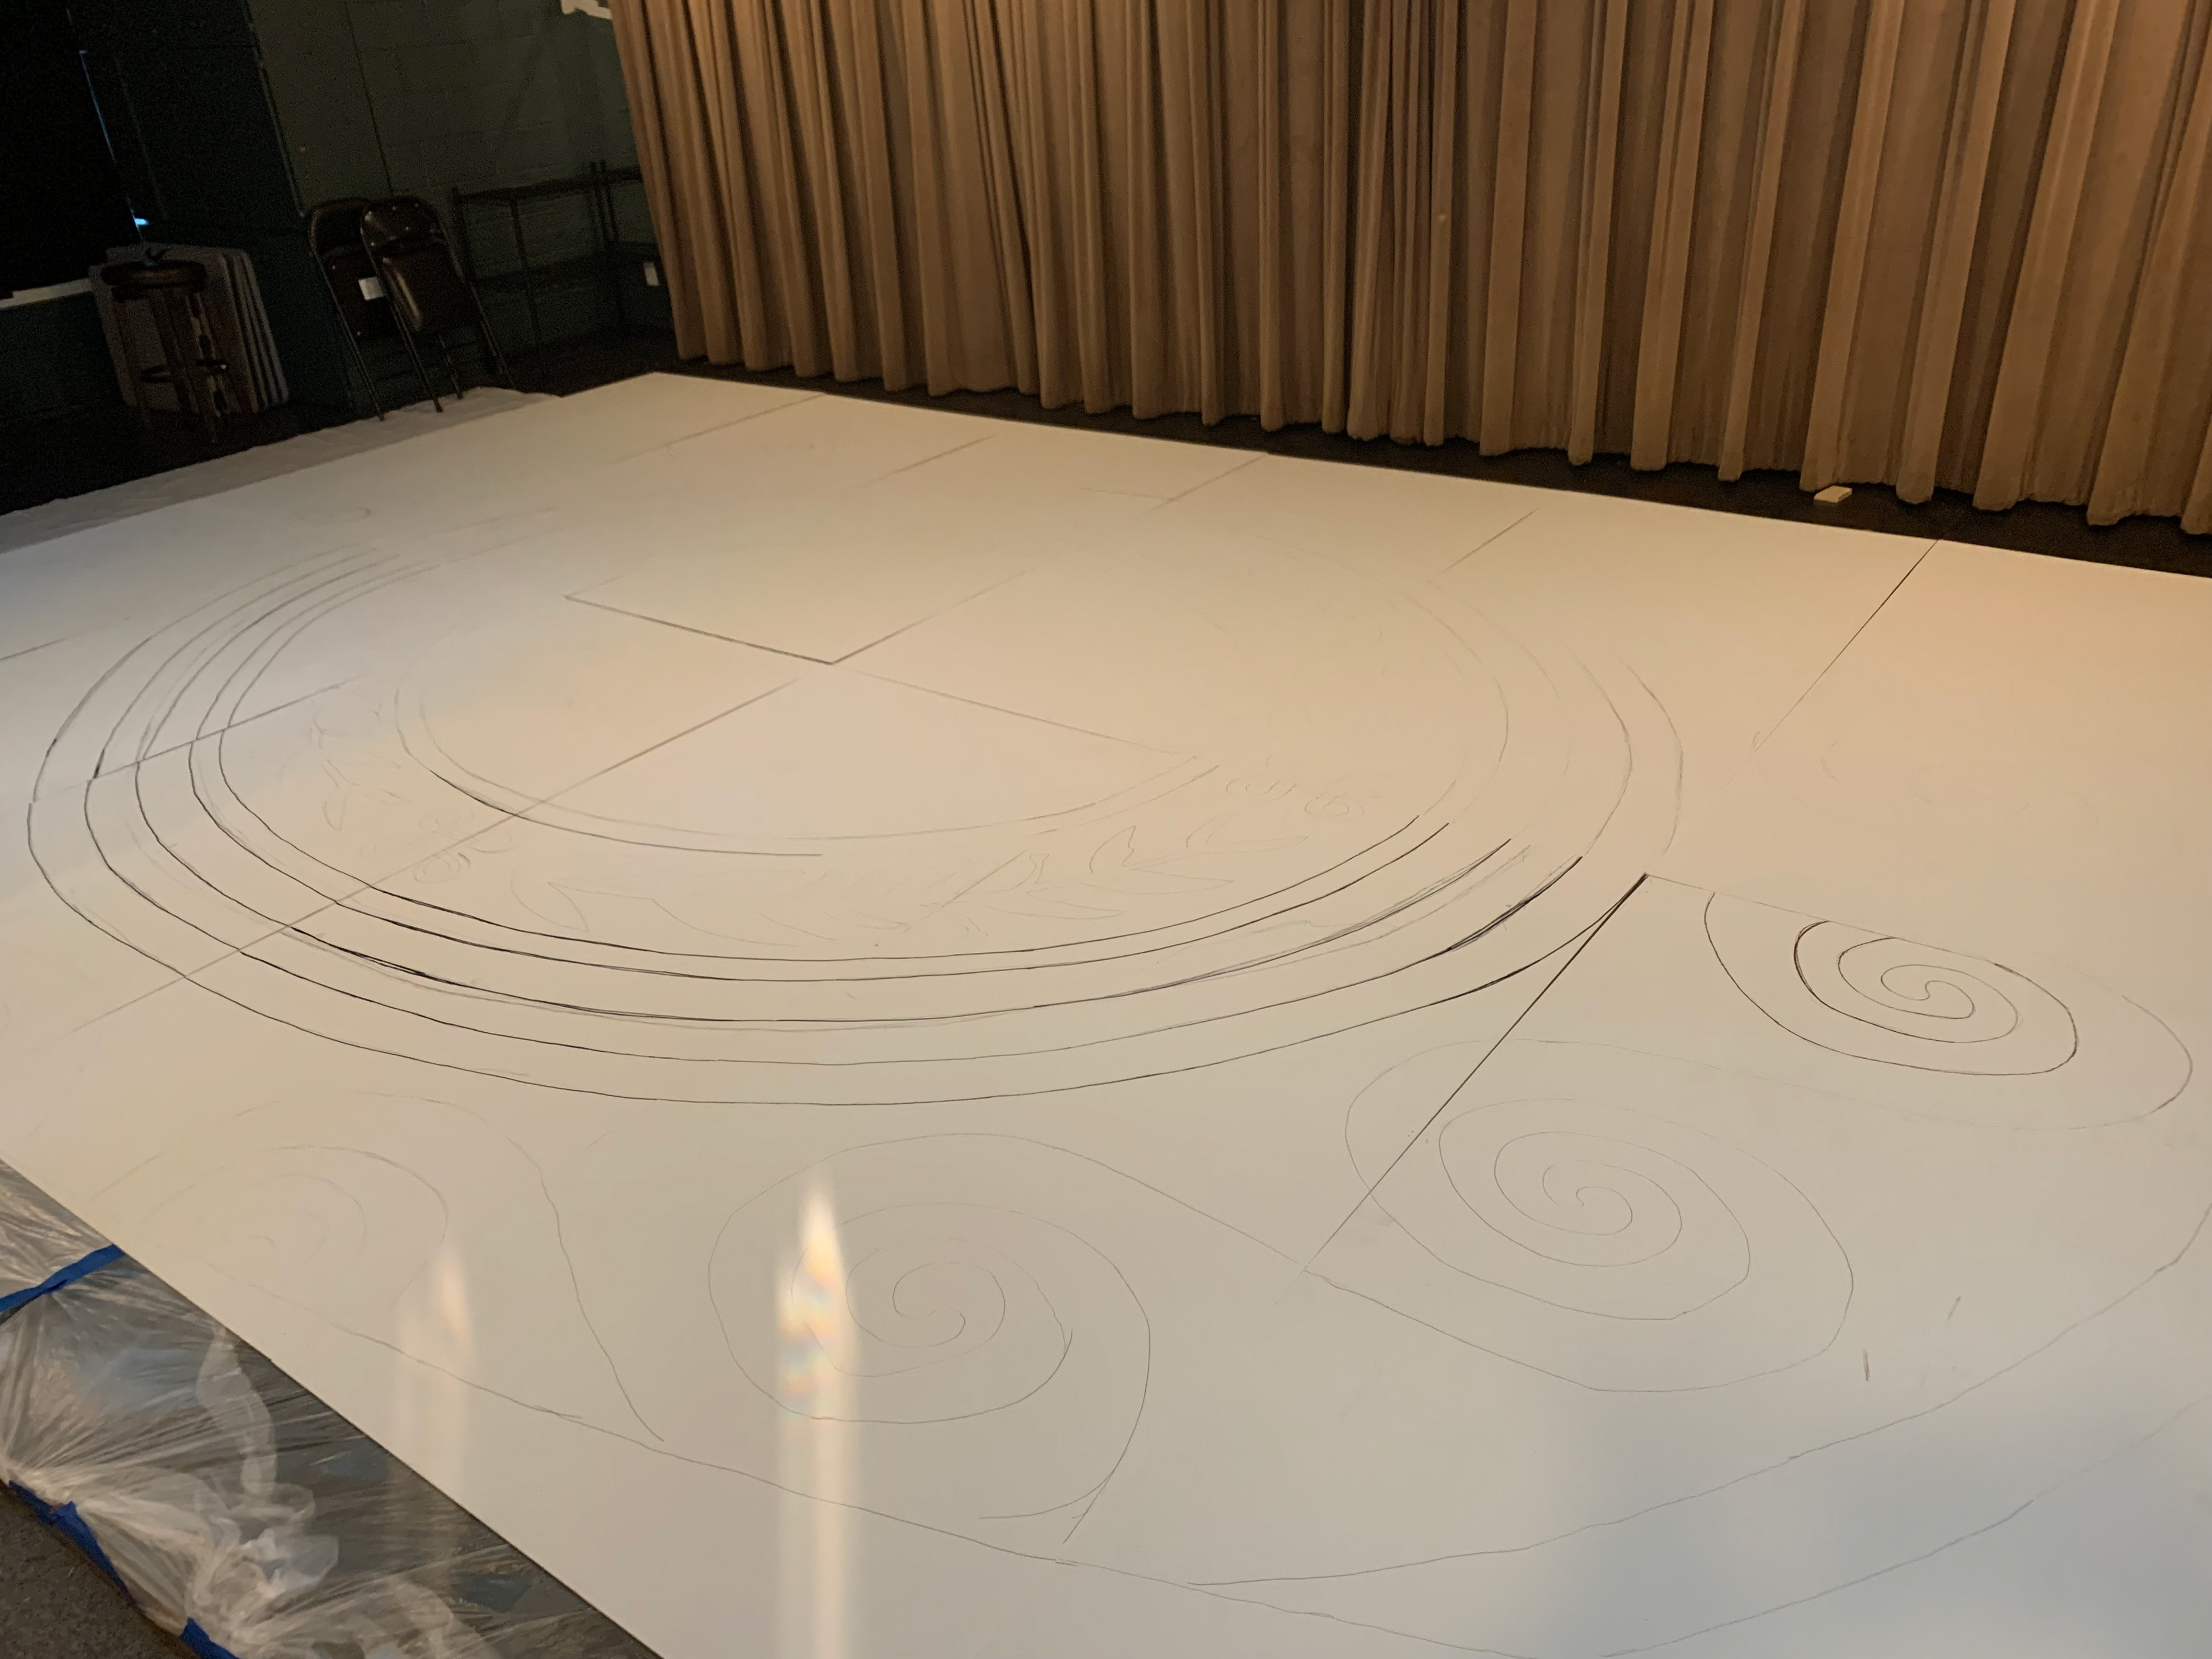
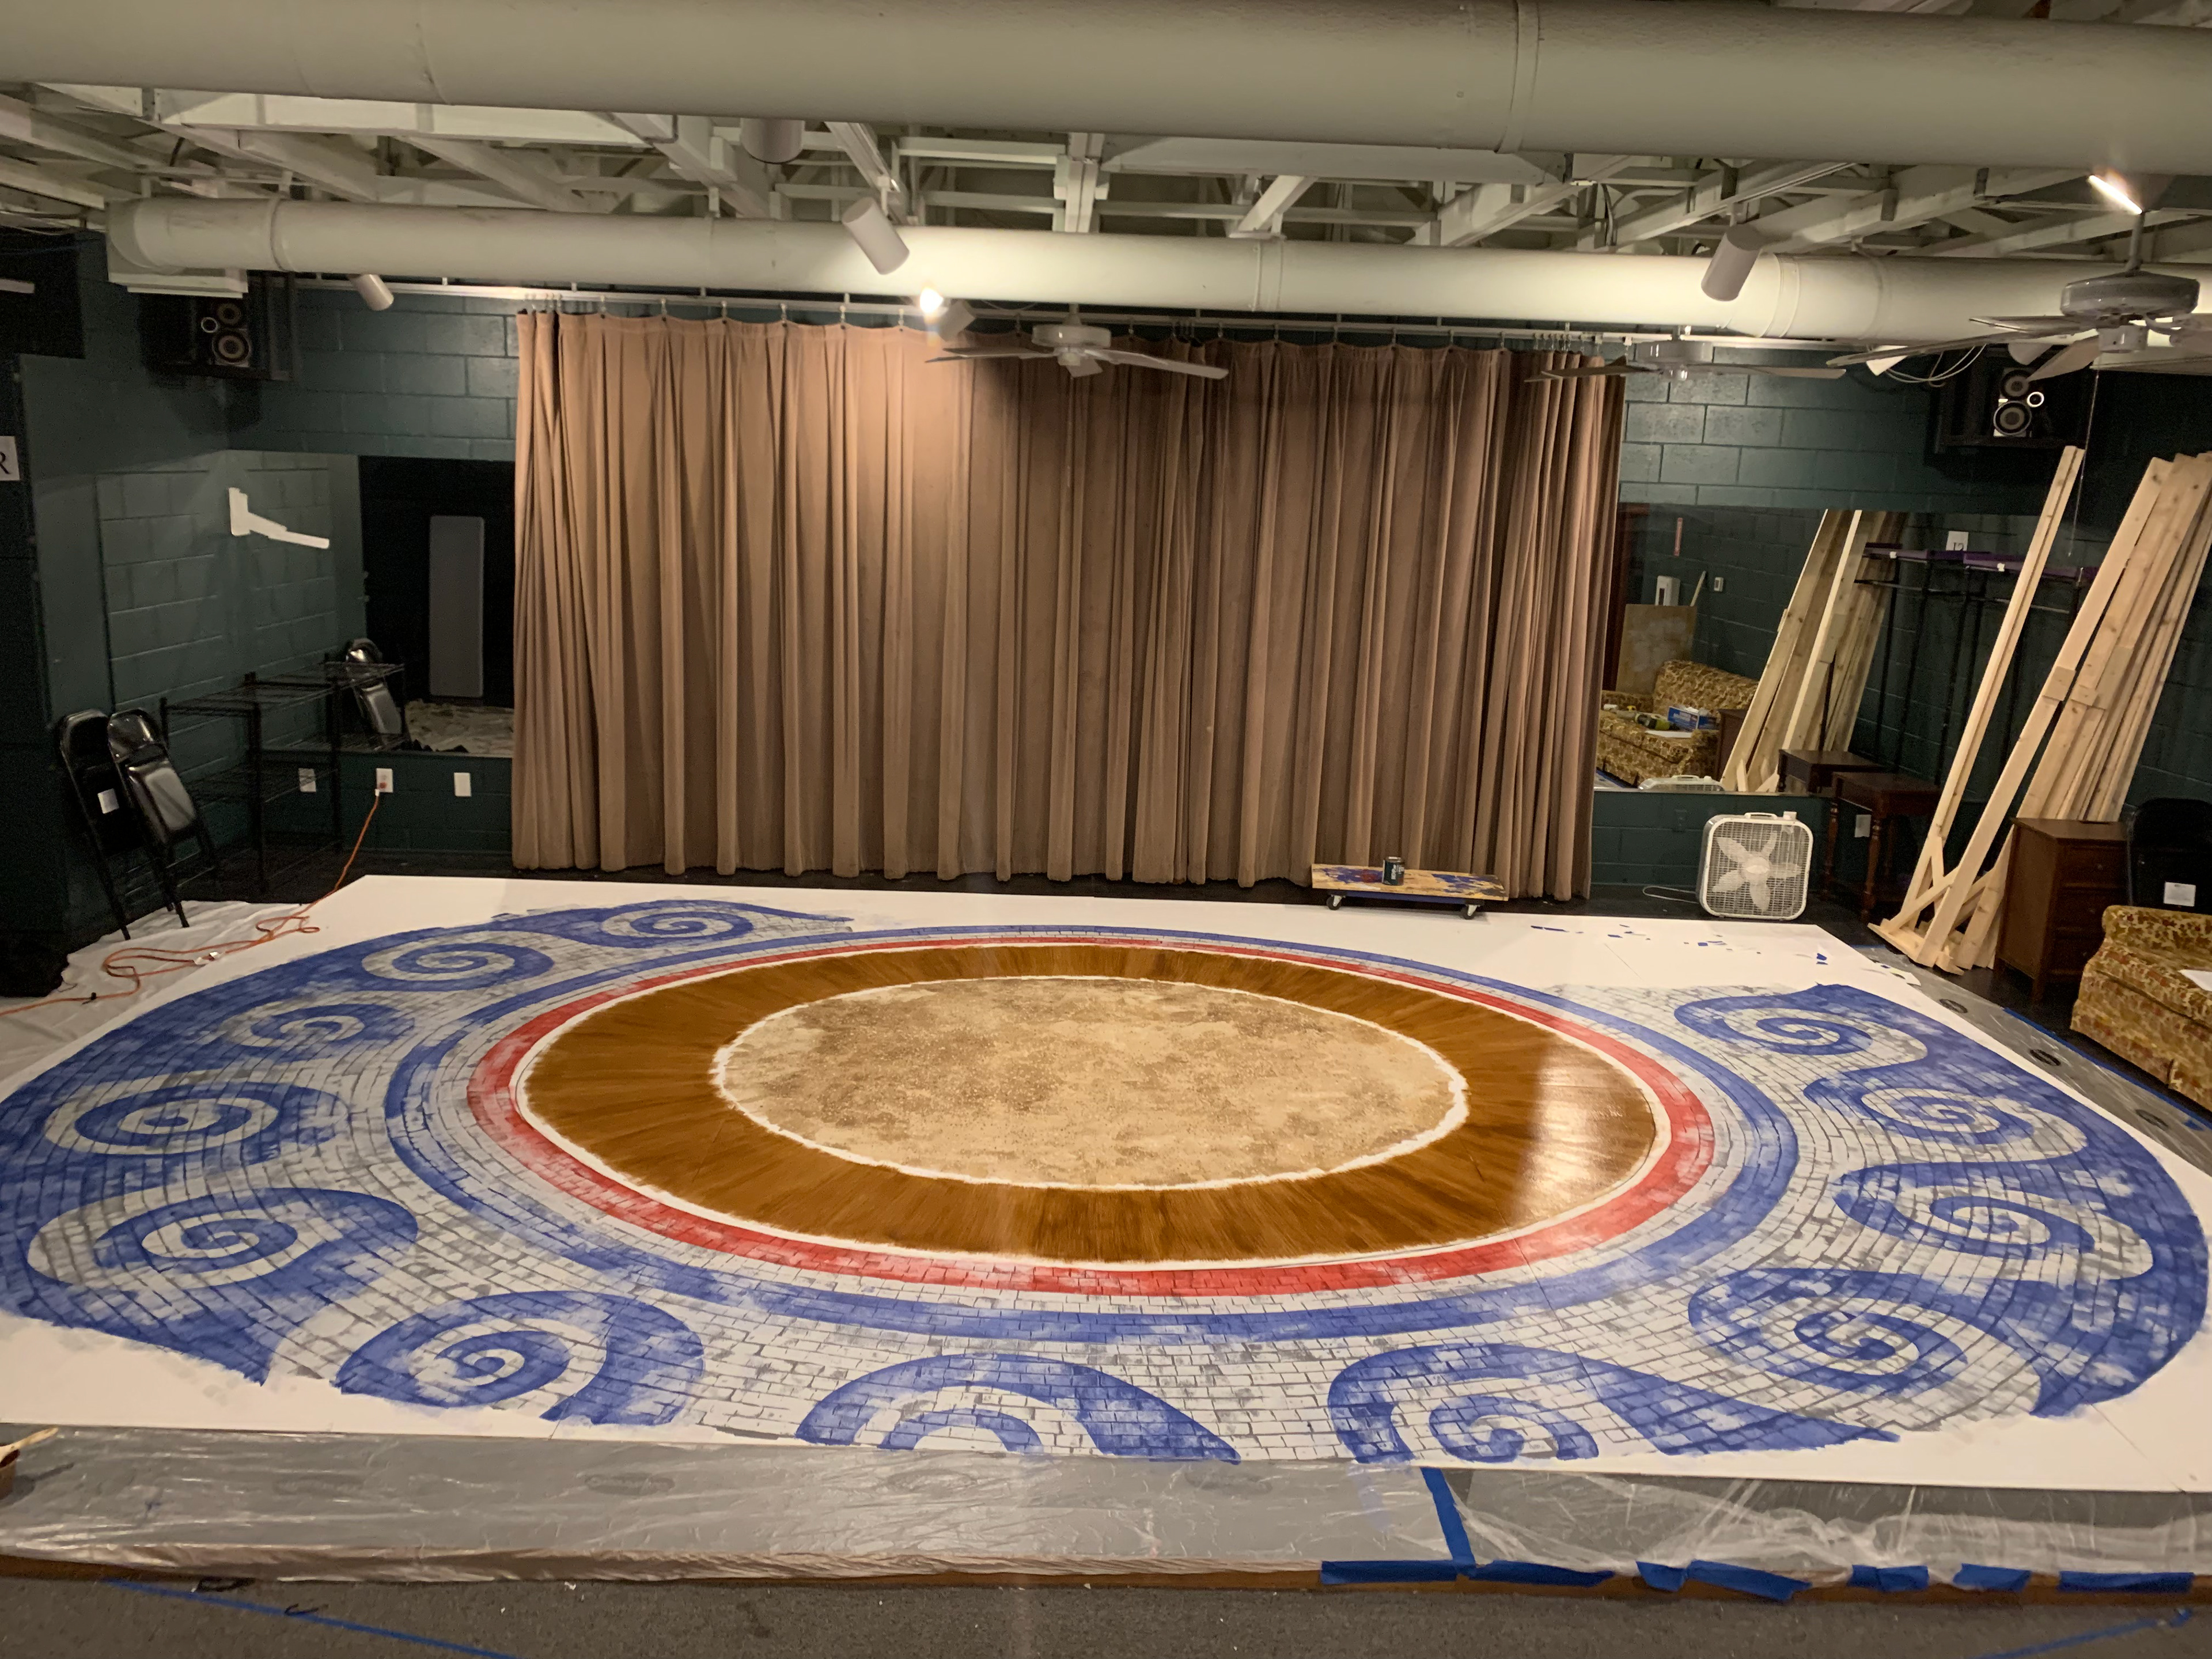
Initial Drawing using a Projection of the design.
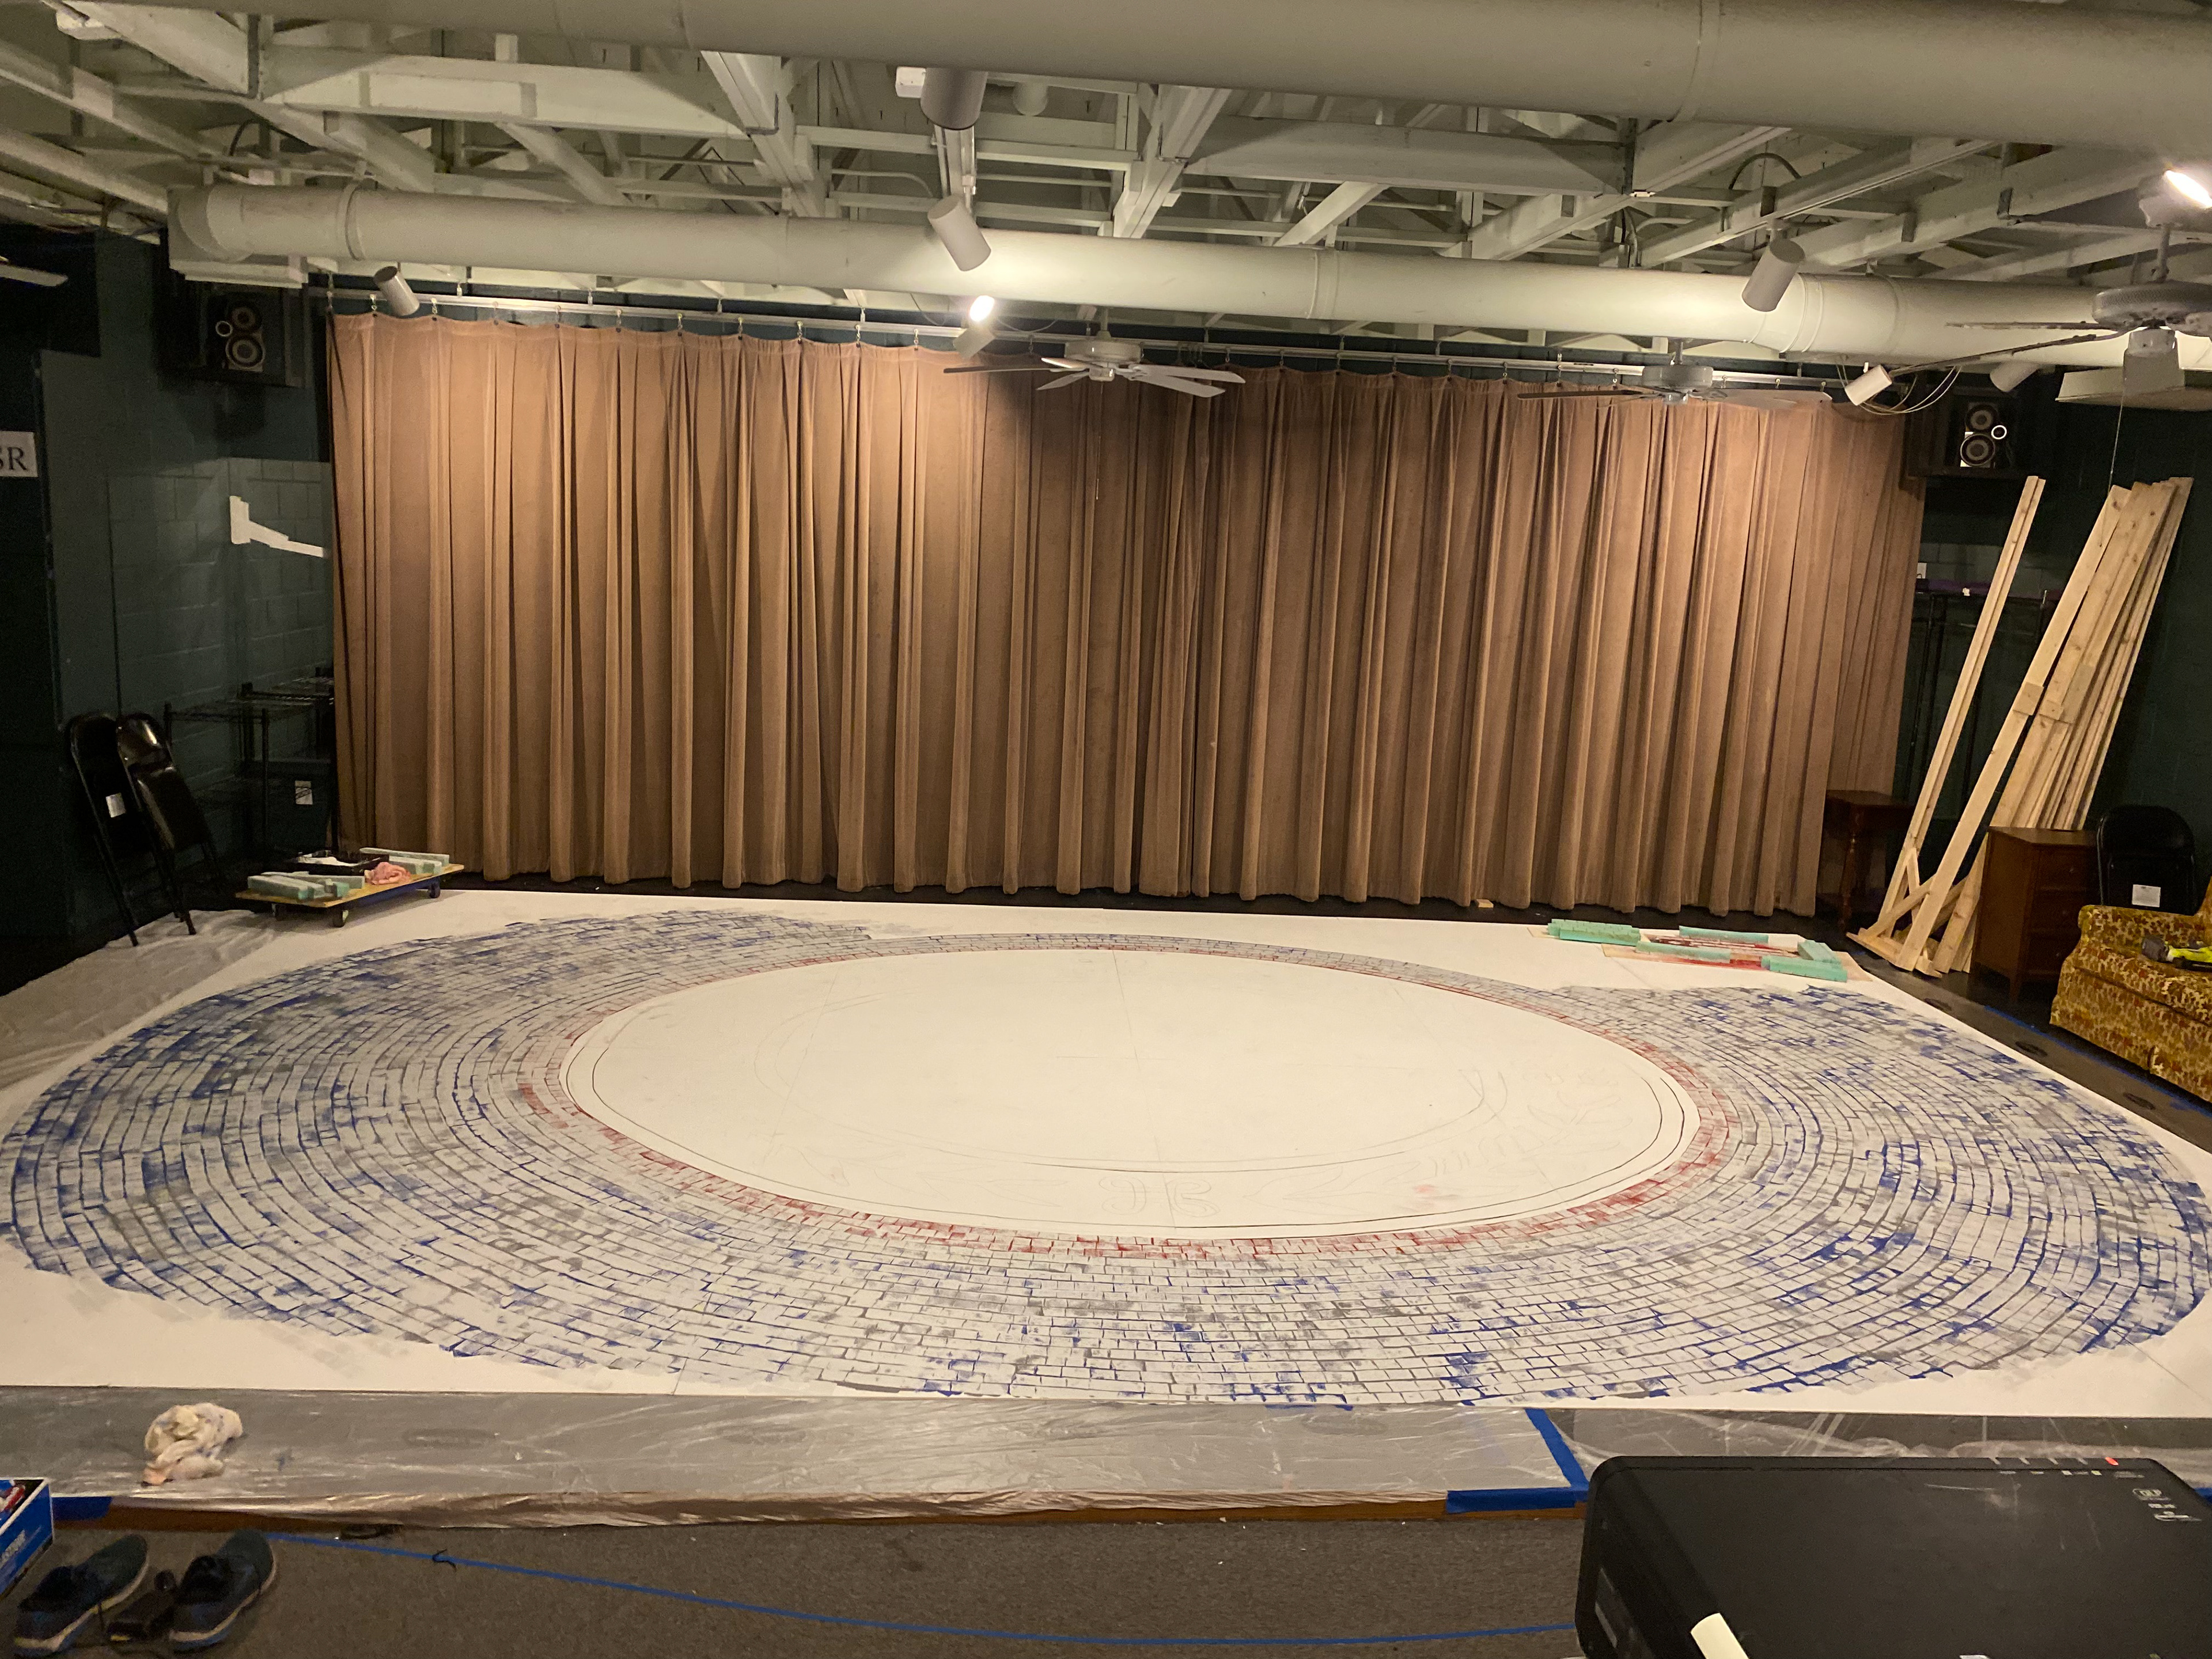
Laid out flat colors and used soft foam to create mosaic stamps to go on top.
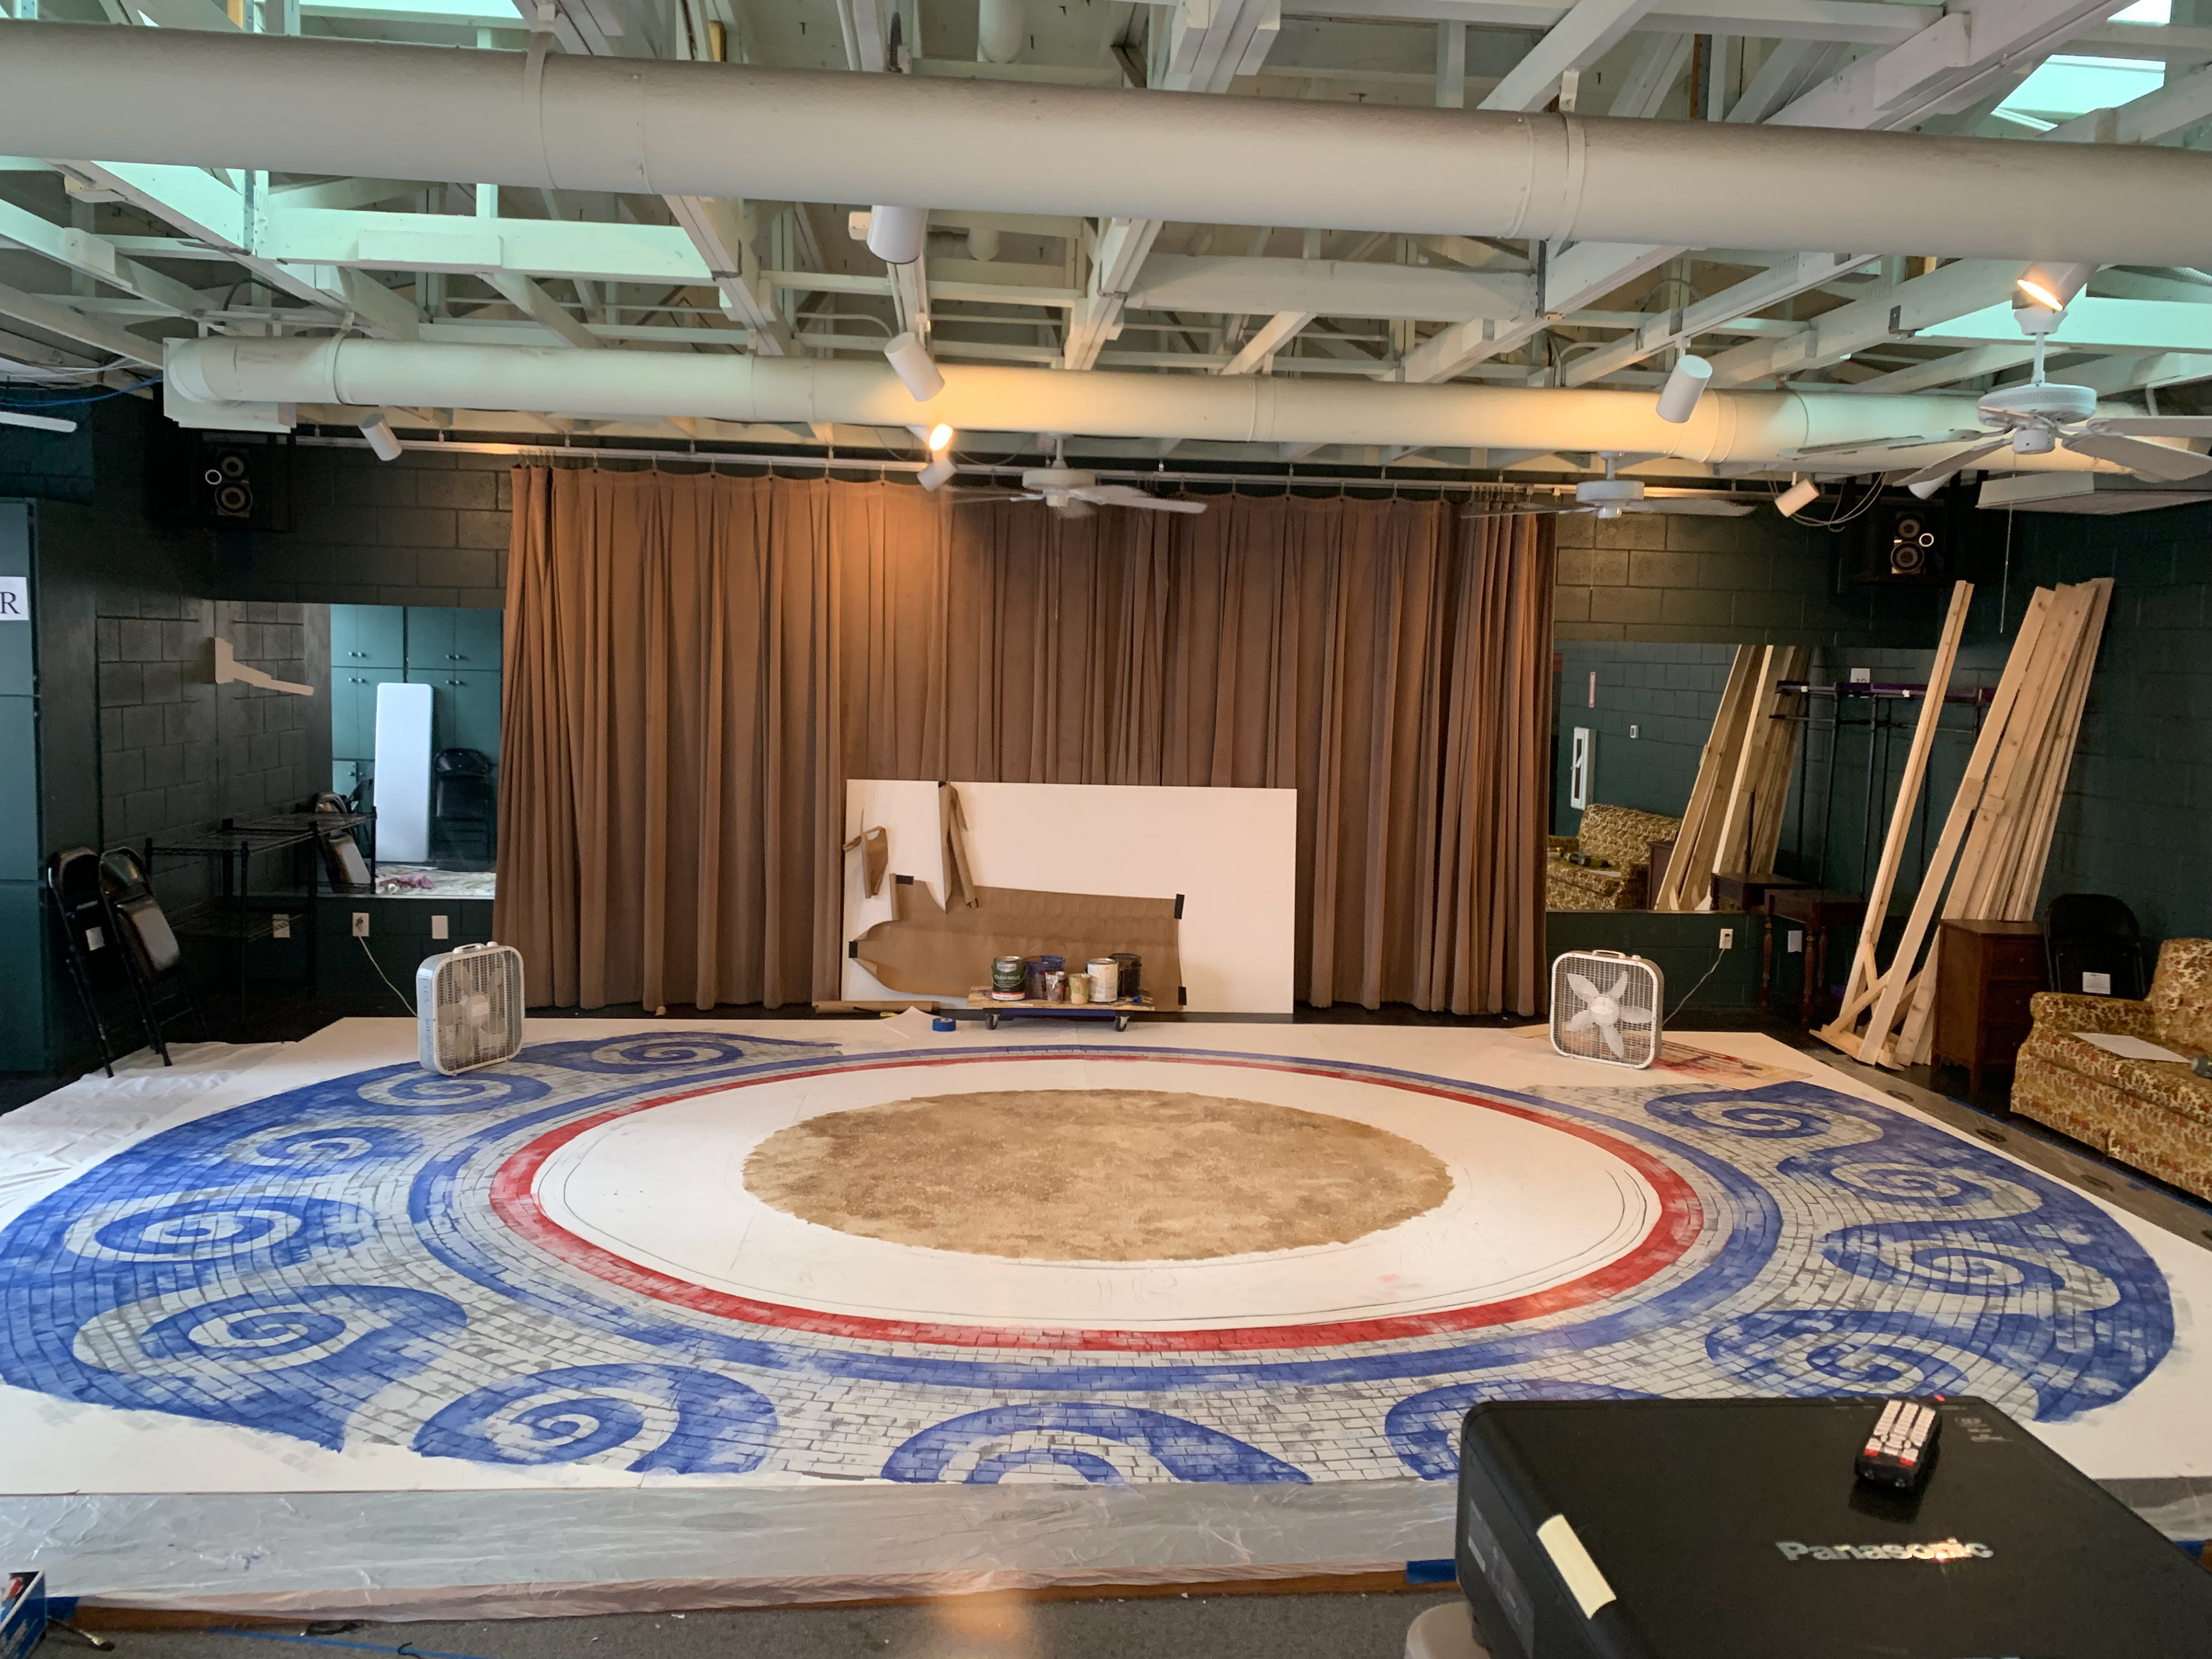
Made a wash of the colors to go on top to re surface the design, then using a rag to buff out and distress some areas. Then in the middle, we did a scumbling of a variety of browns and then splattered the same variety on top.
Wood stained a middle ring with a brush.
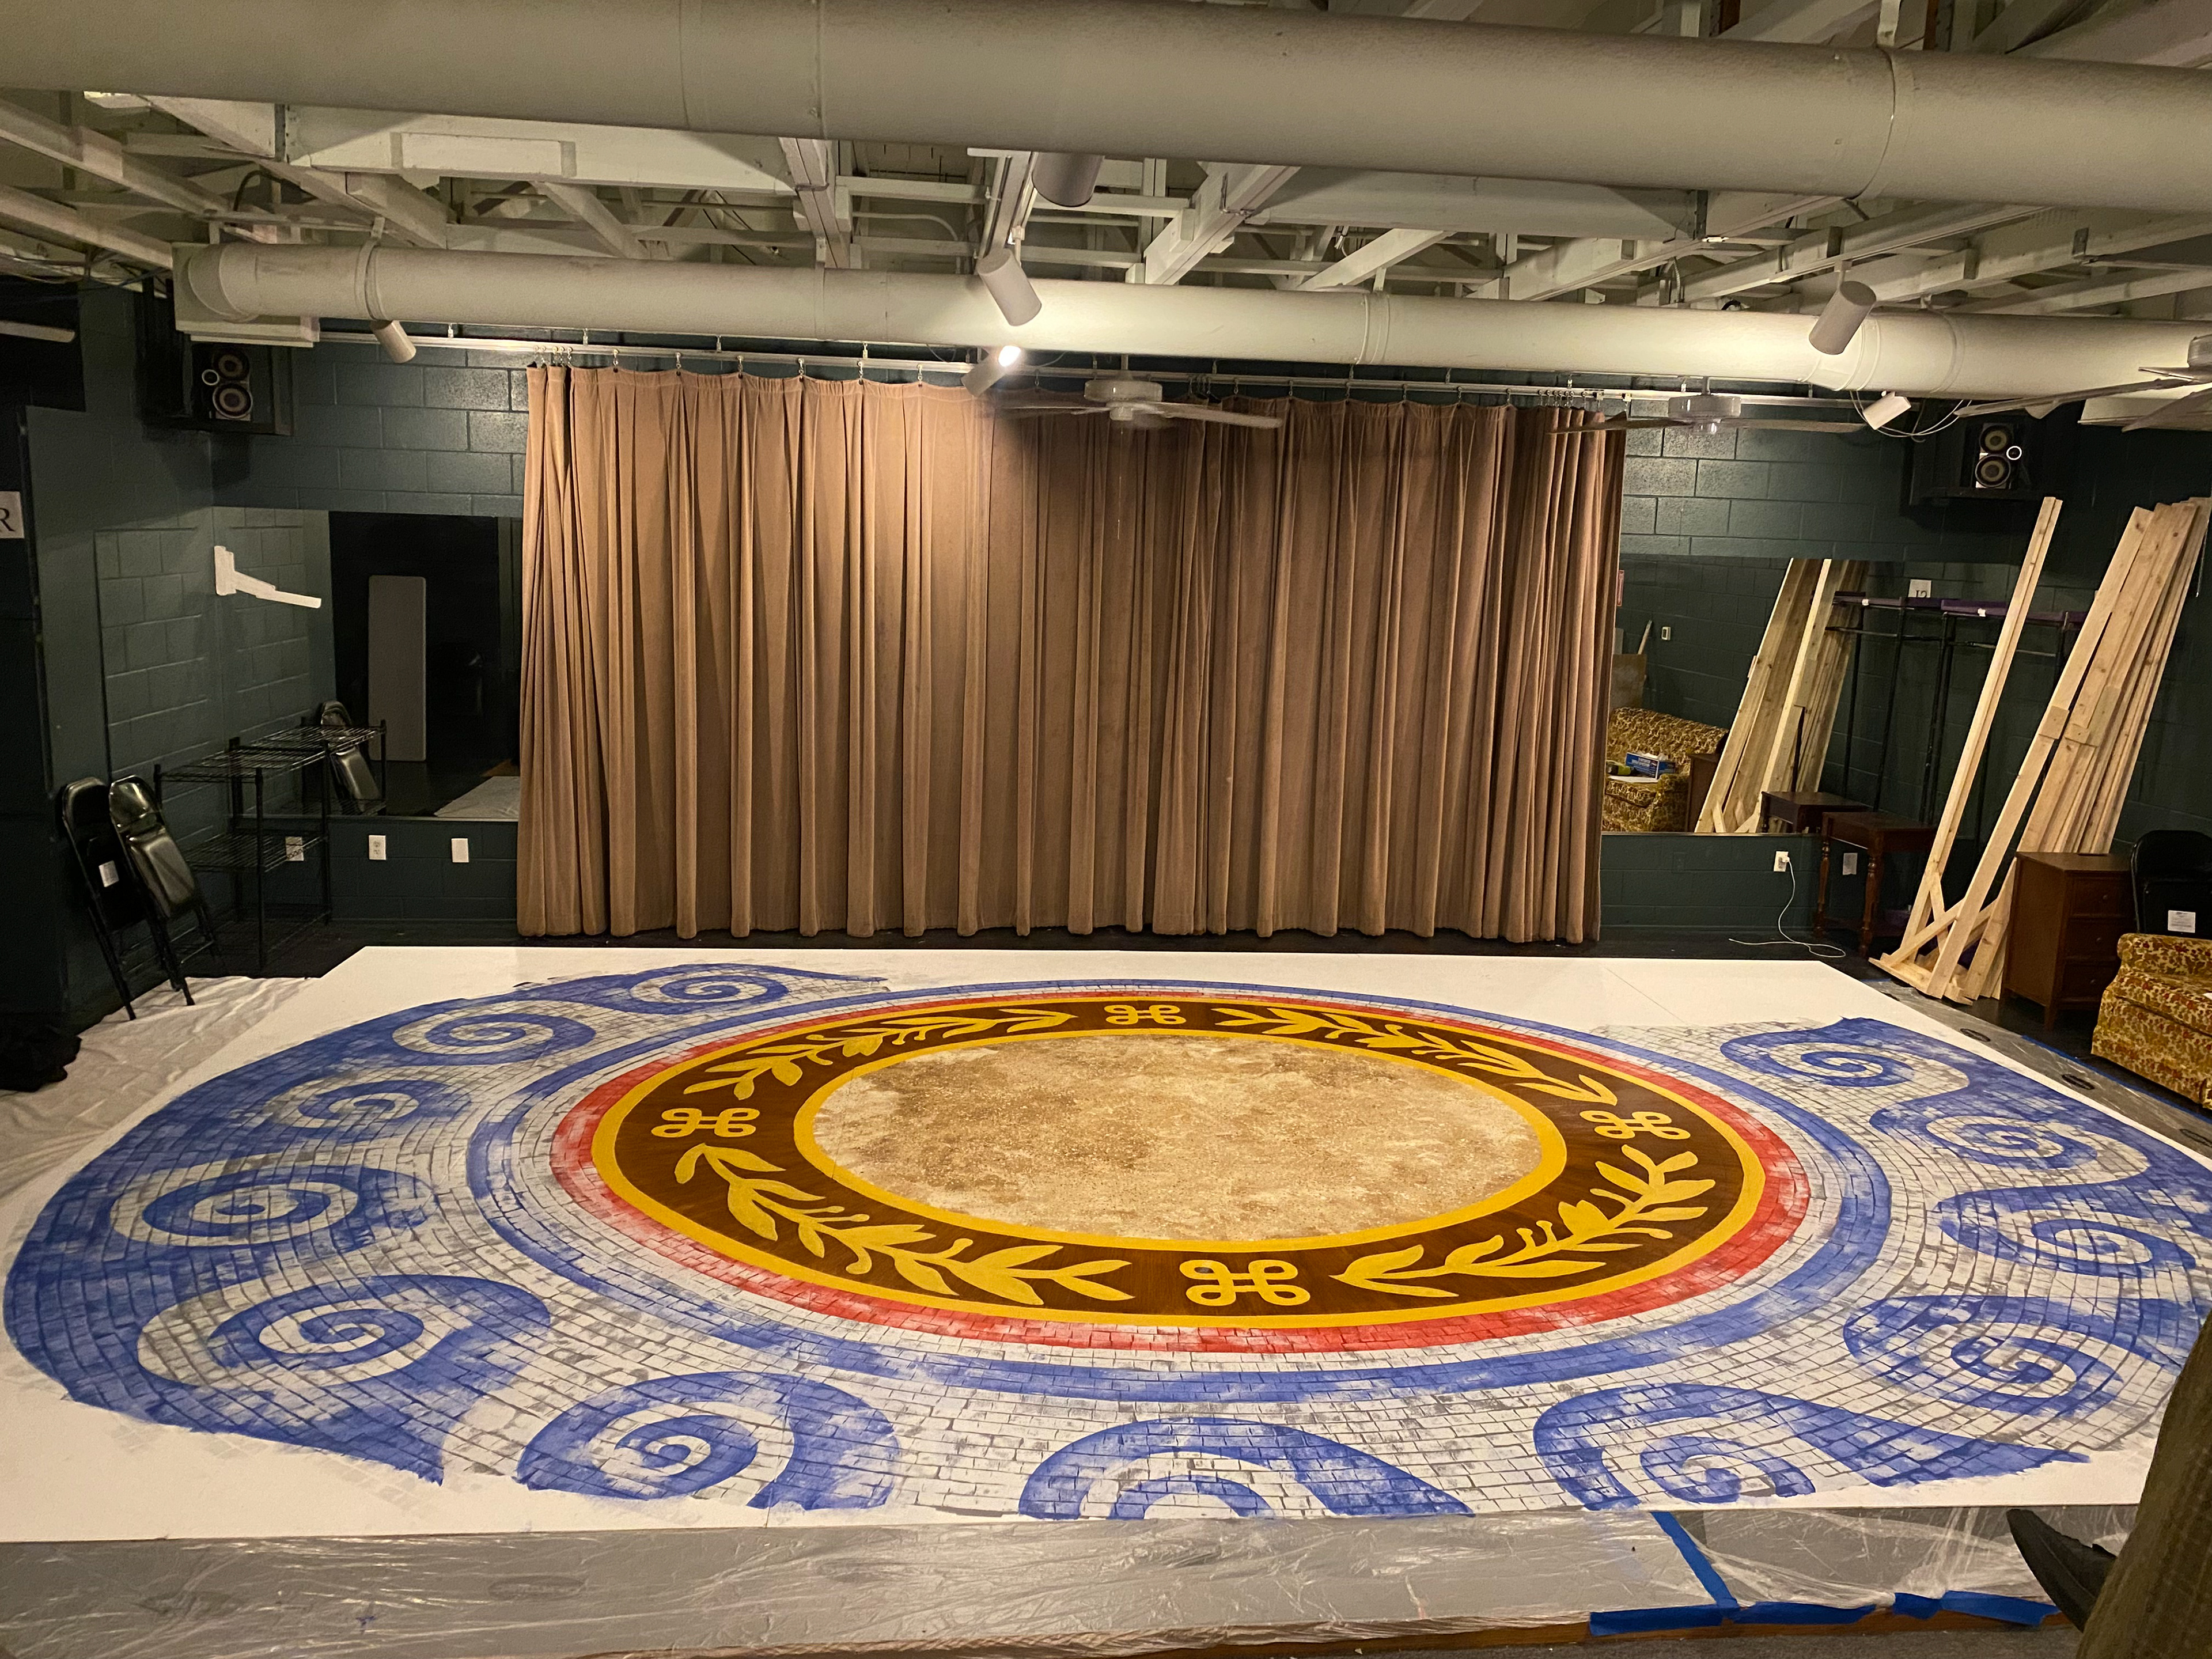
Flat color of the "gold" design.

The floor was moved to the actual space, and next it was washed with a light brown. Then we drew out wood paneling coming from the sides to the middle with paint marker. After that, we used a variety of wood stain and painted in the panels. Then, it was sealed.
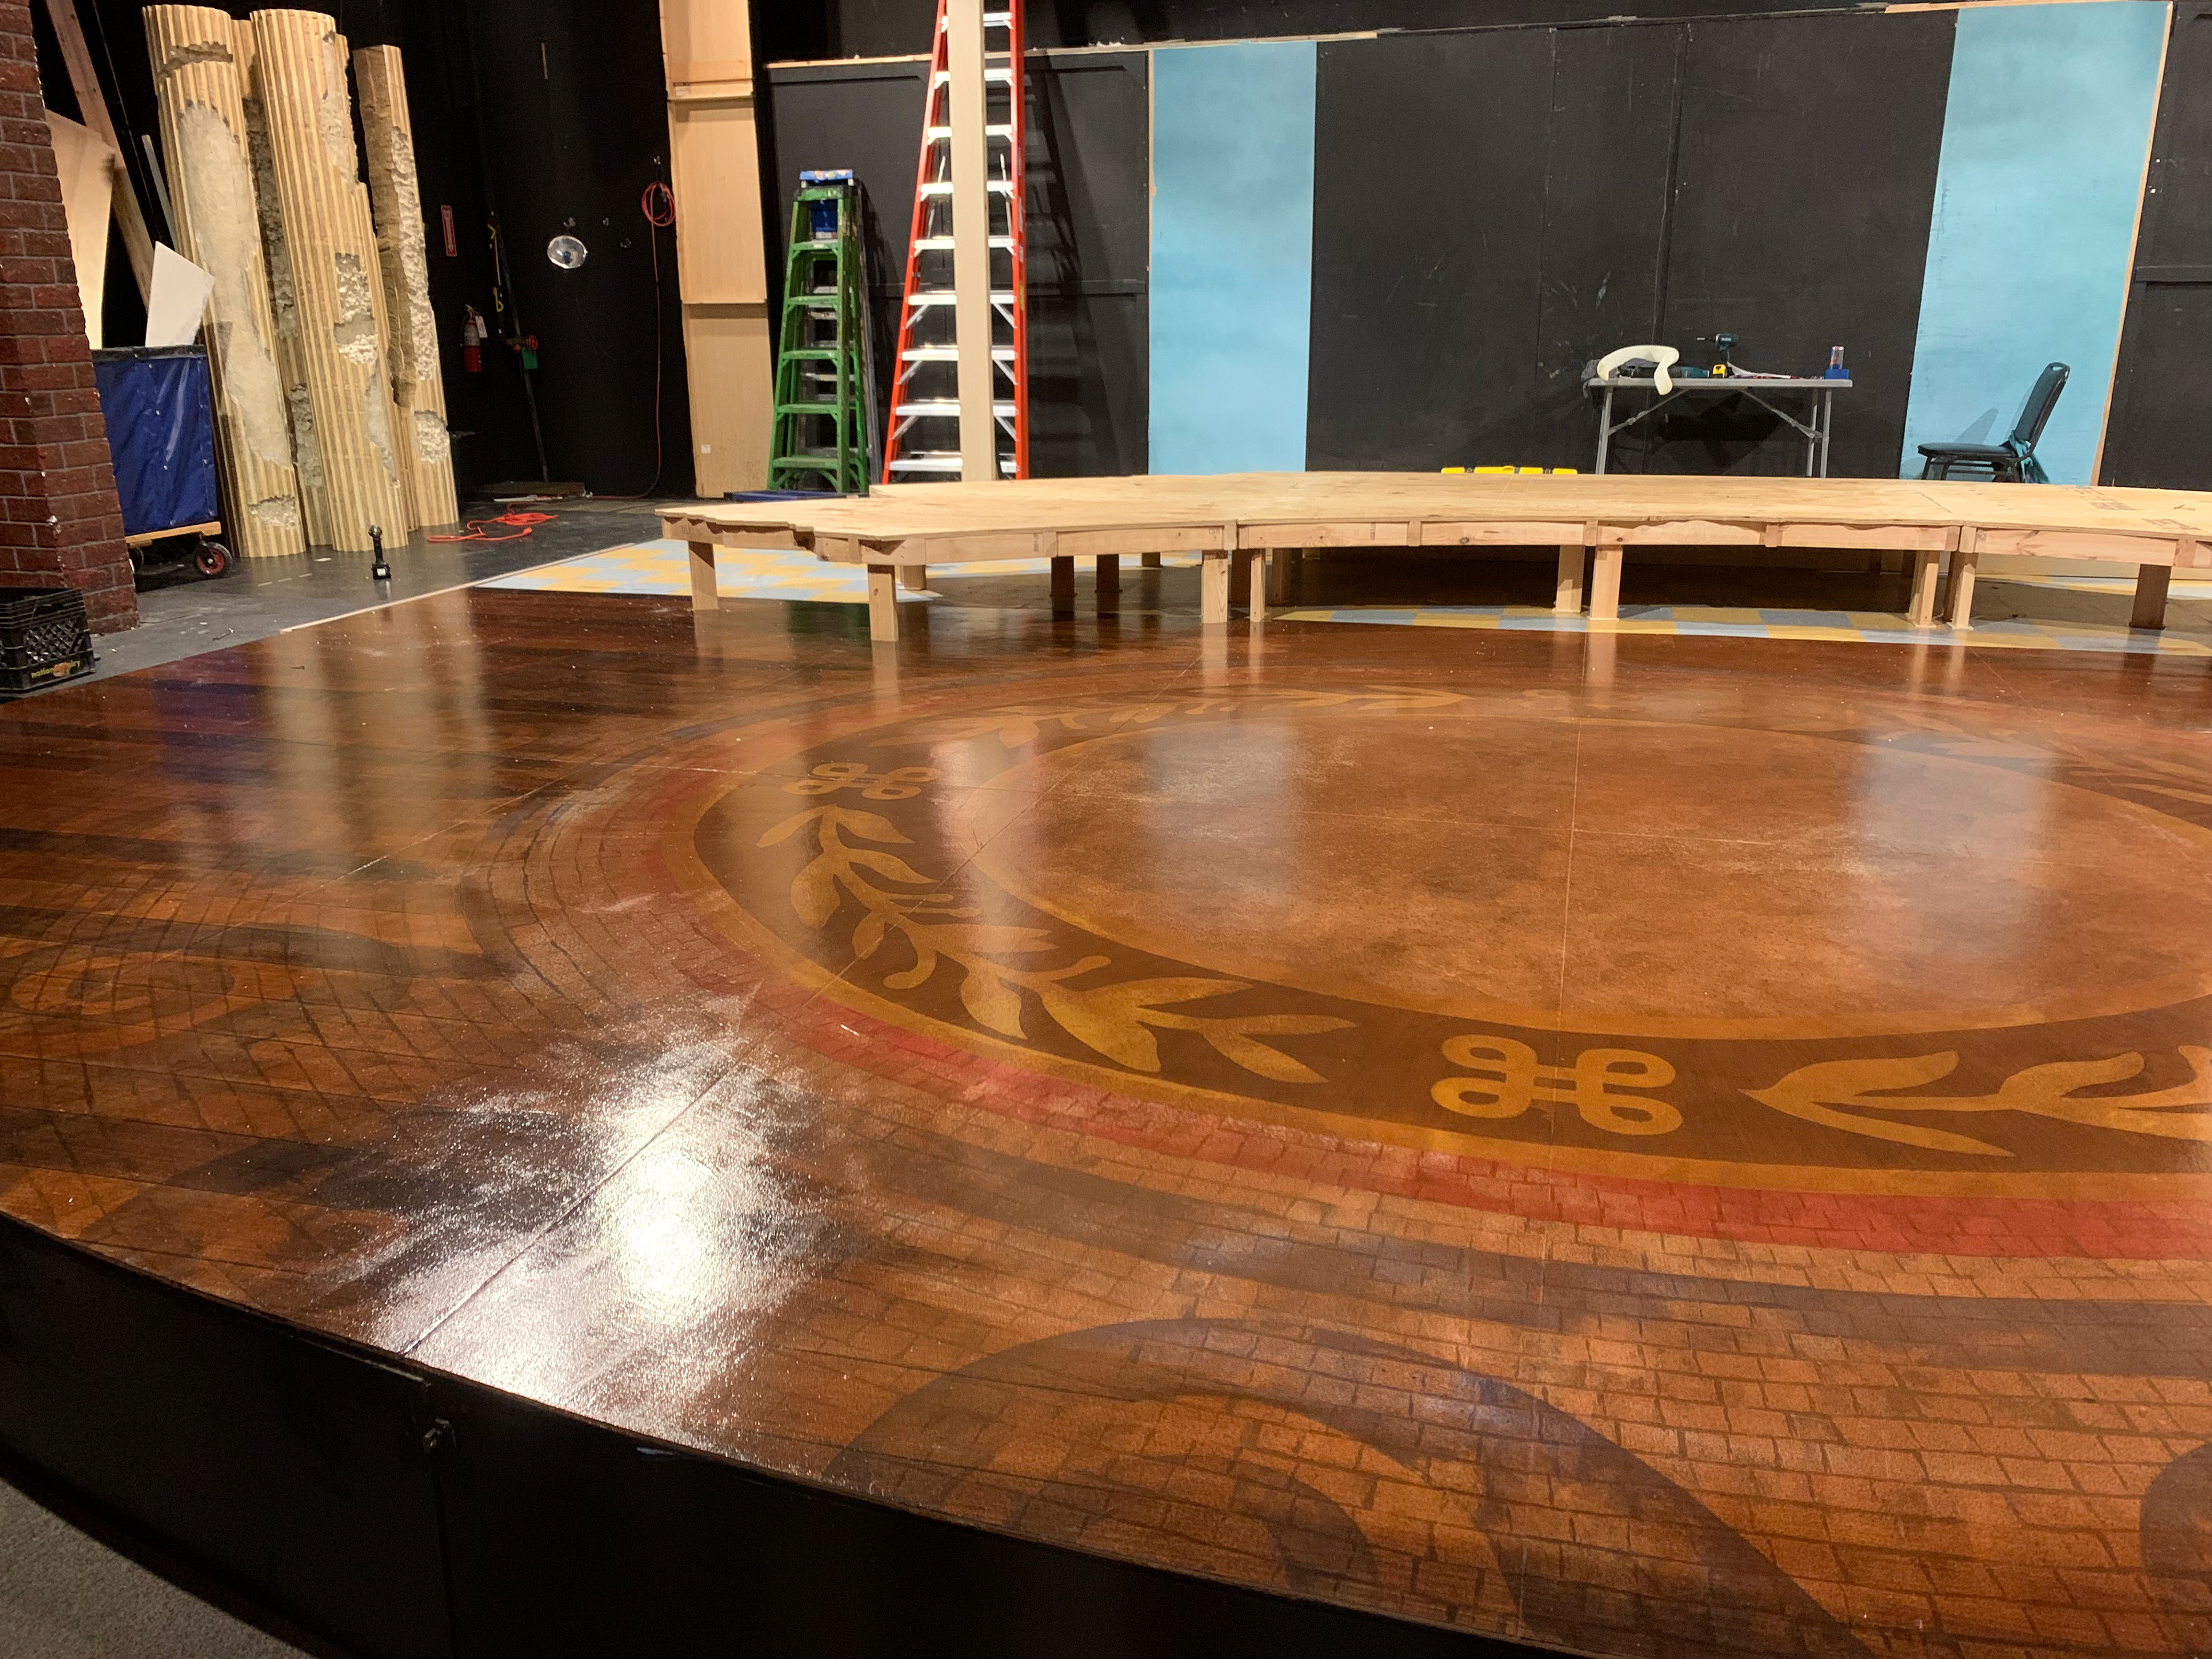
Up close of the final floor.
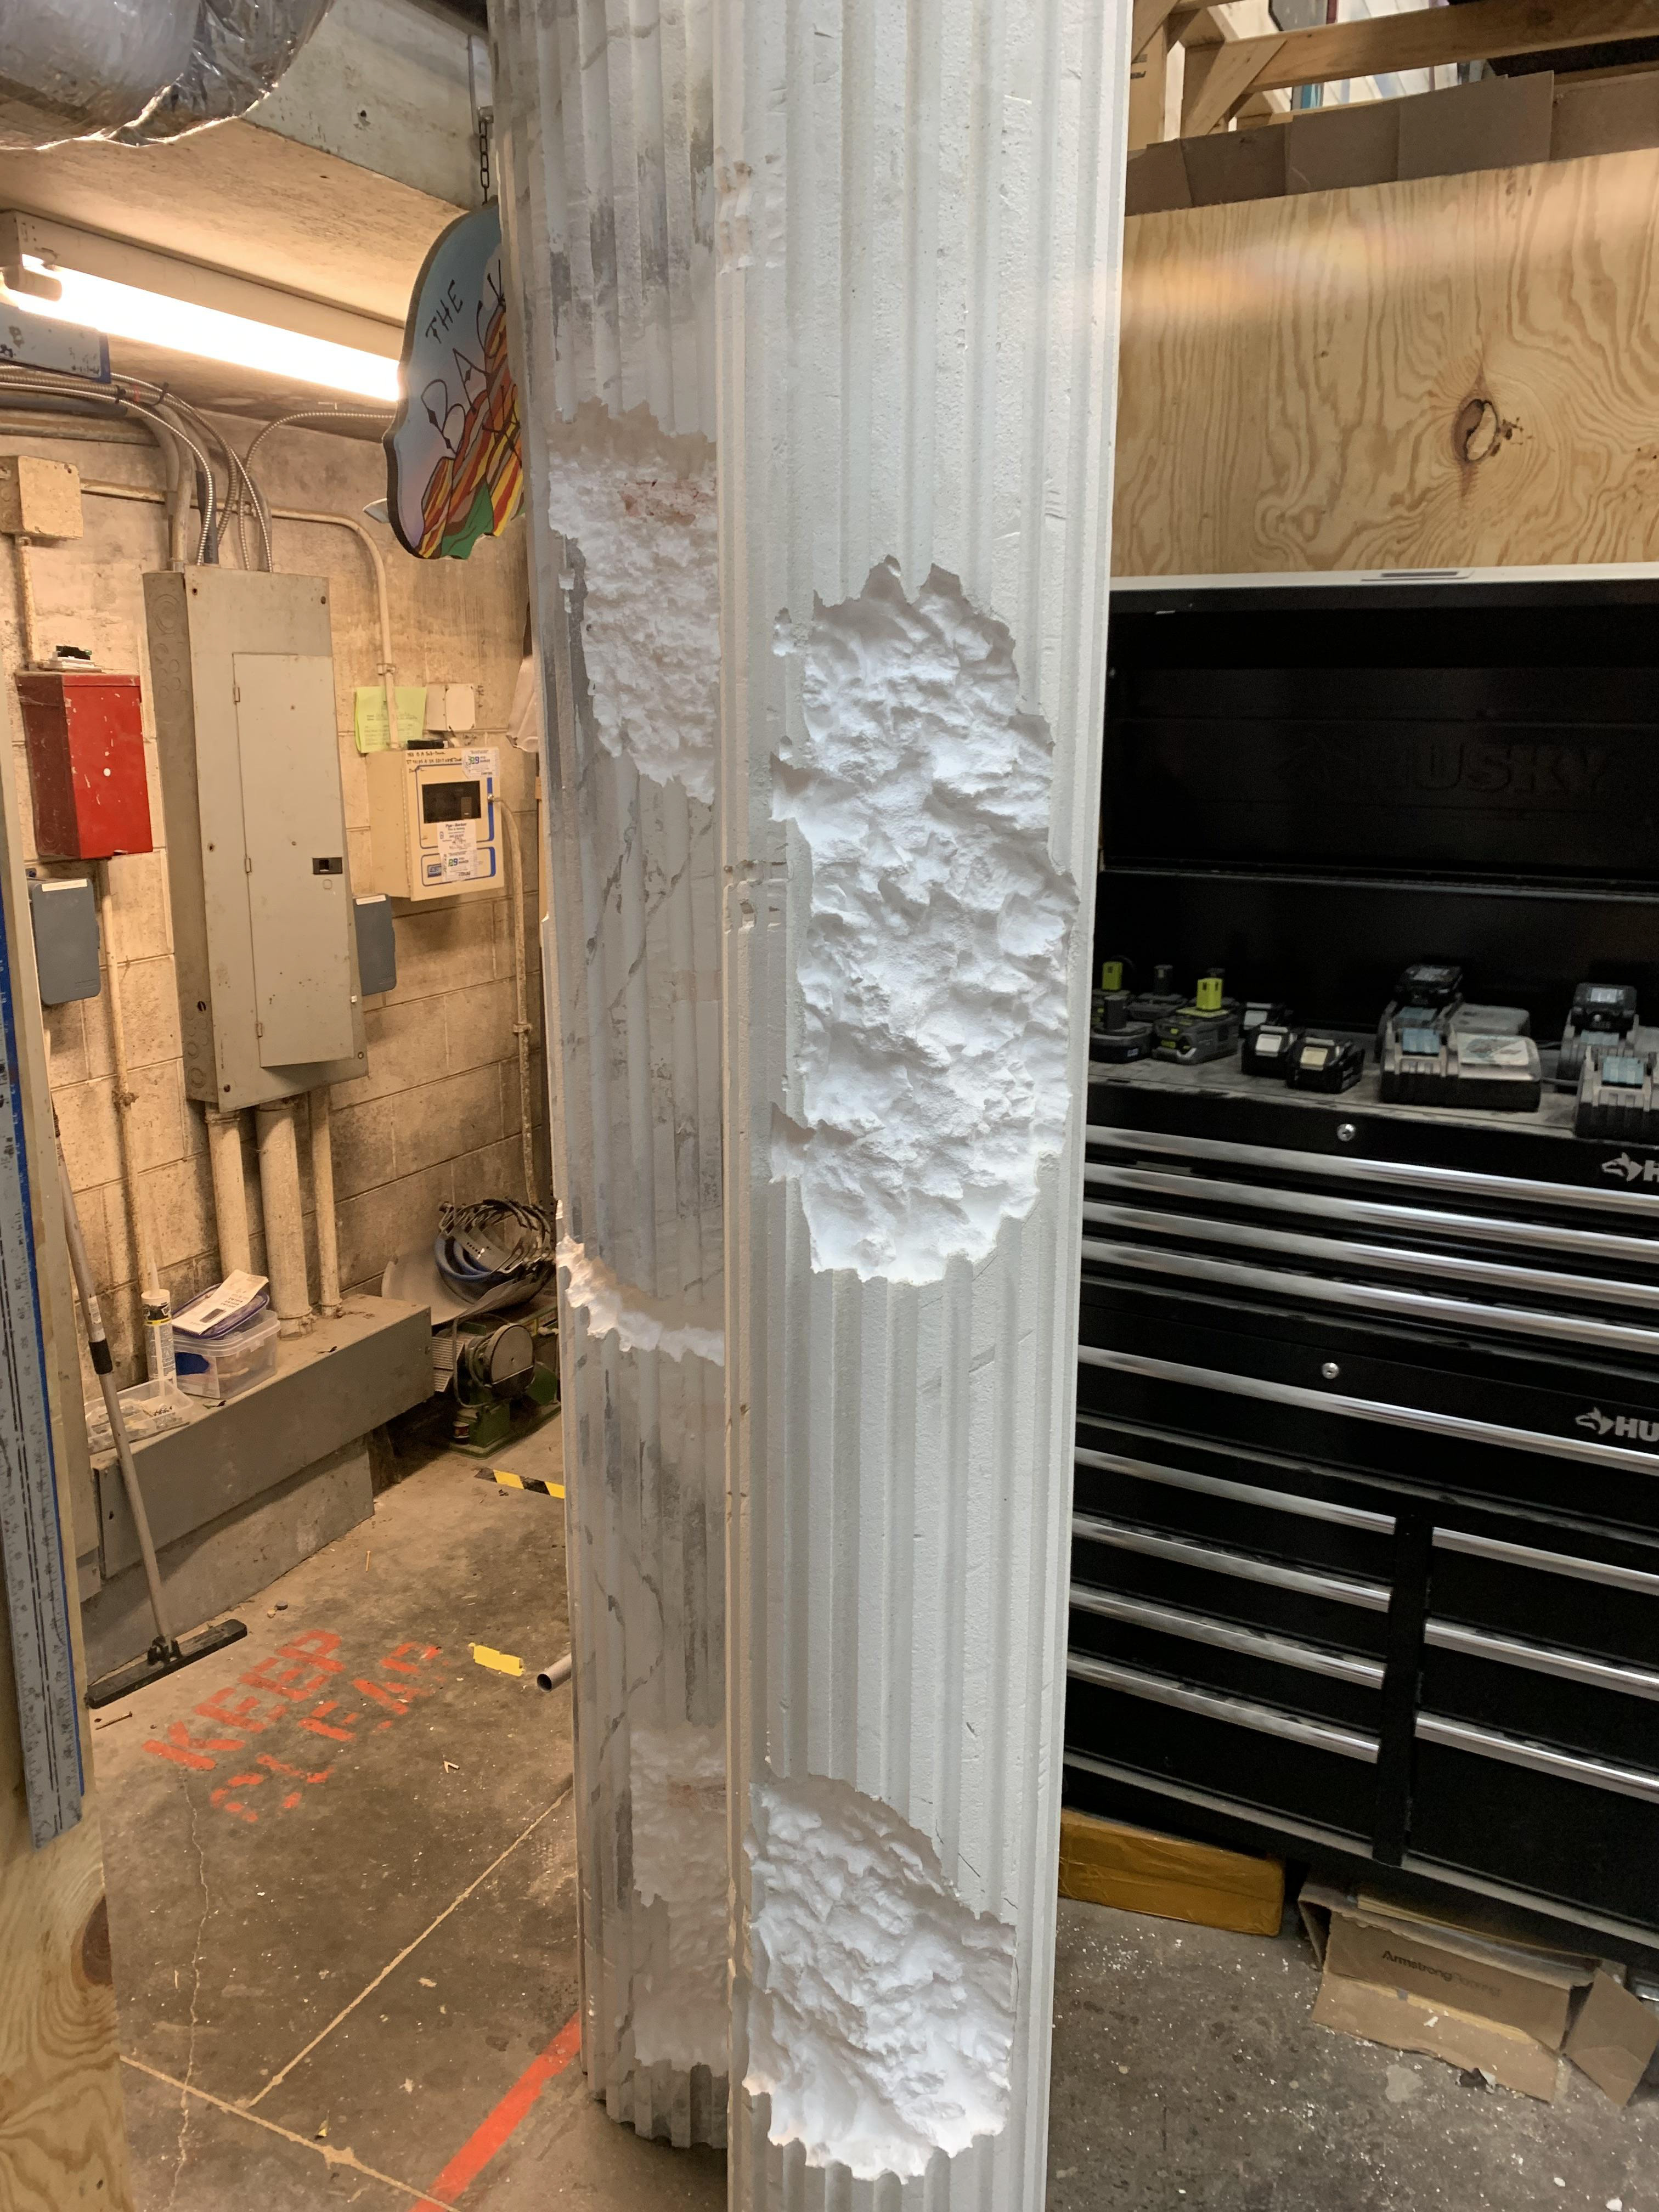
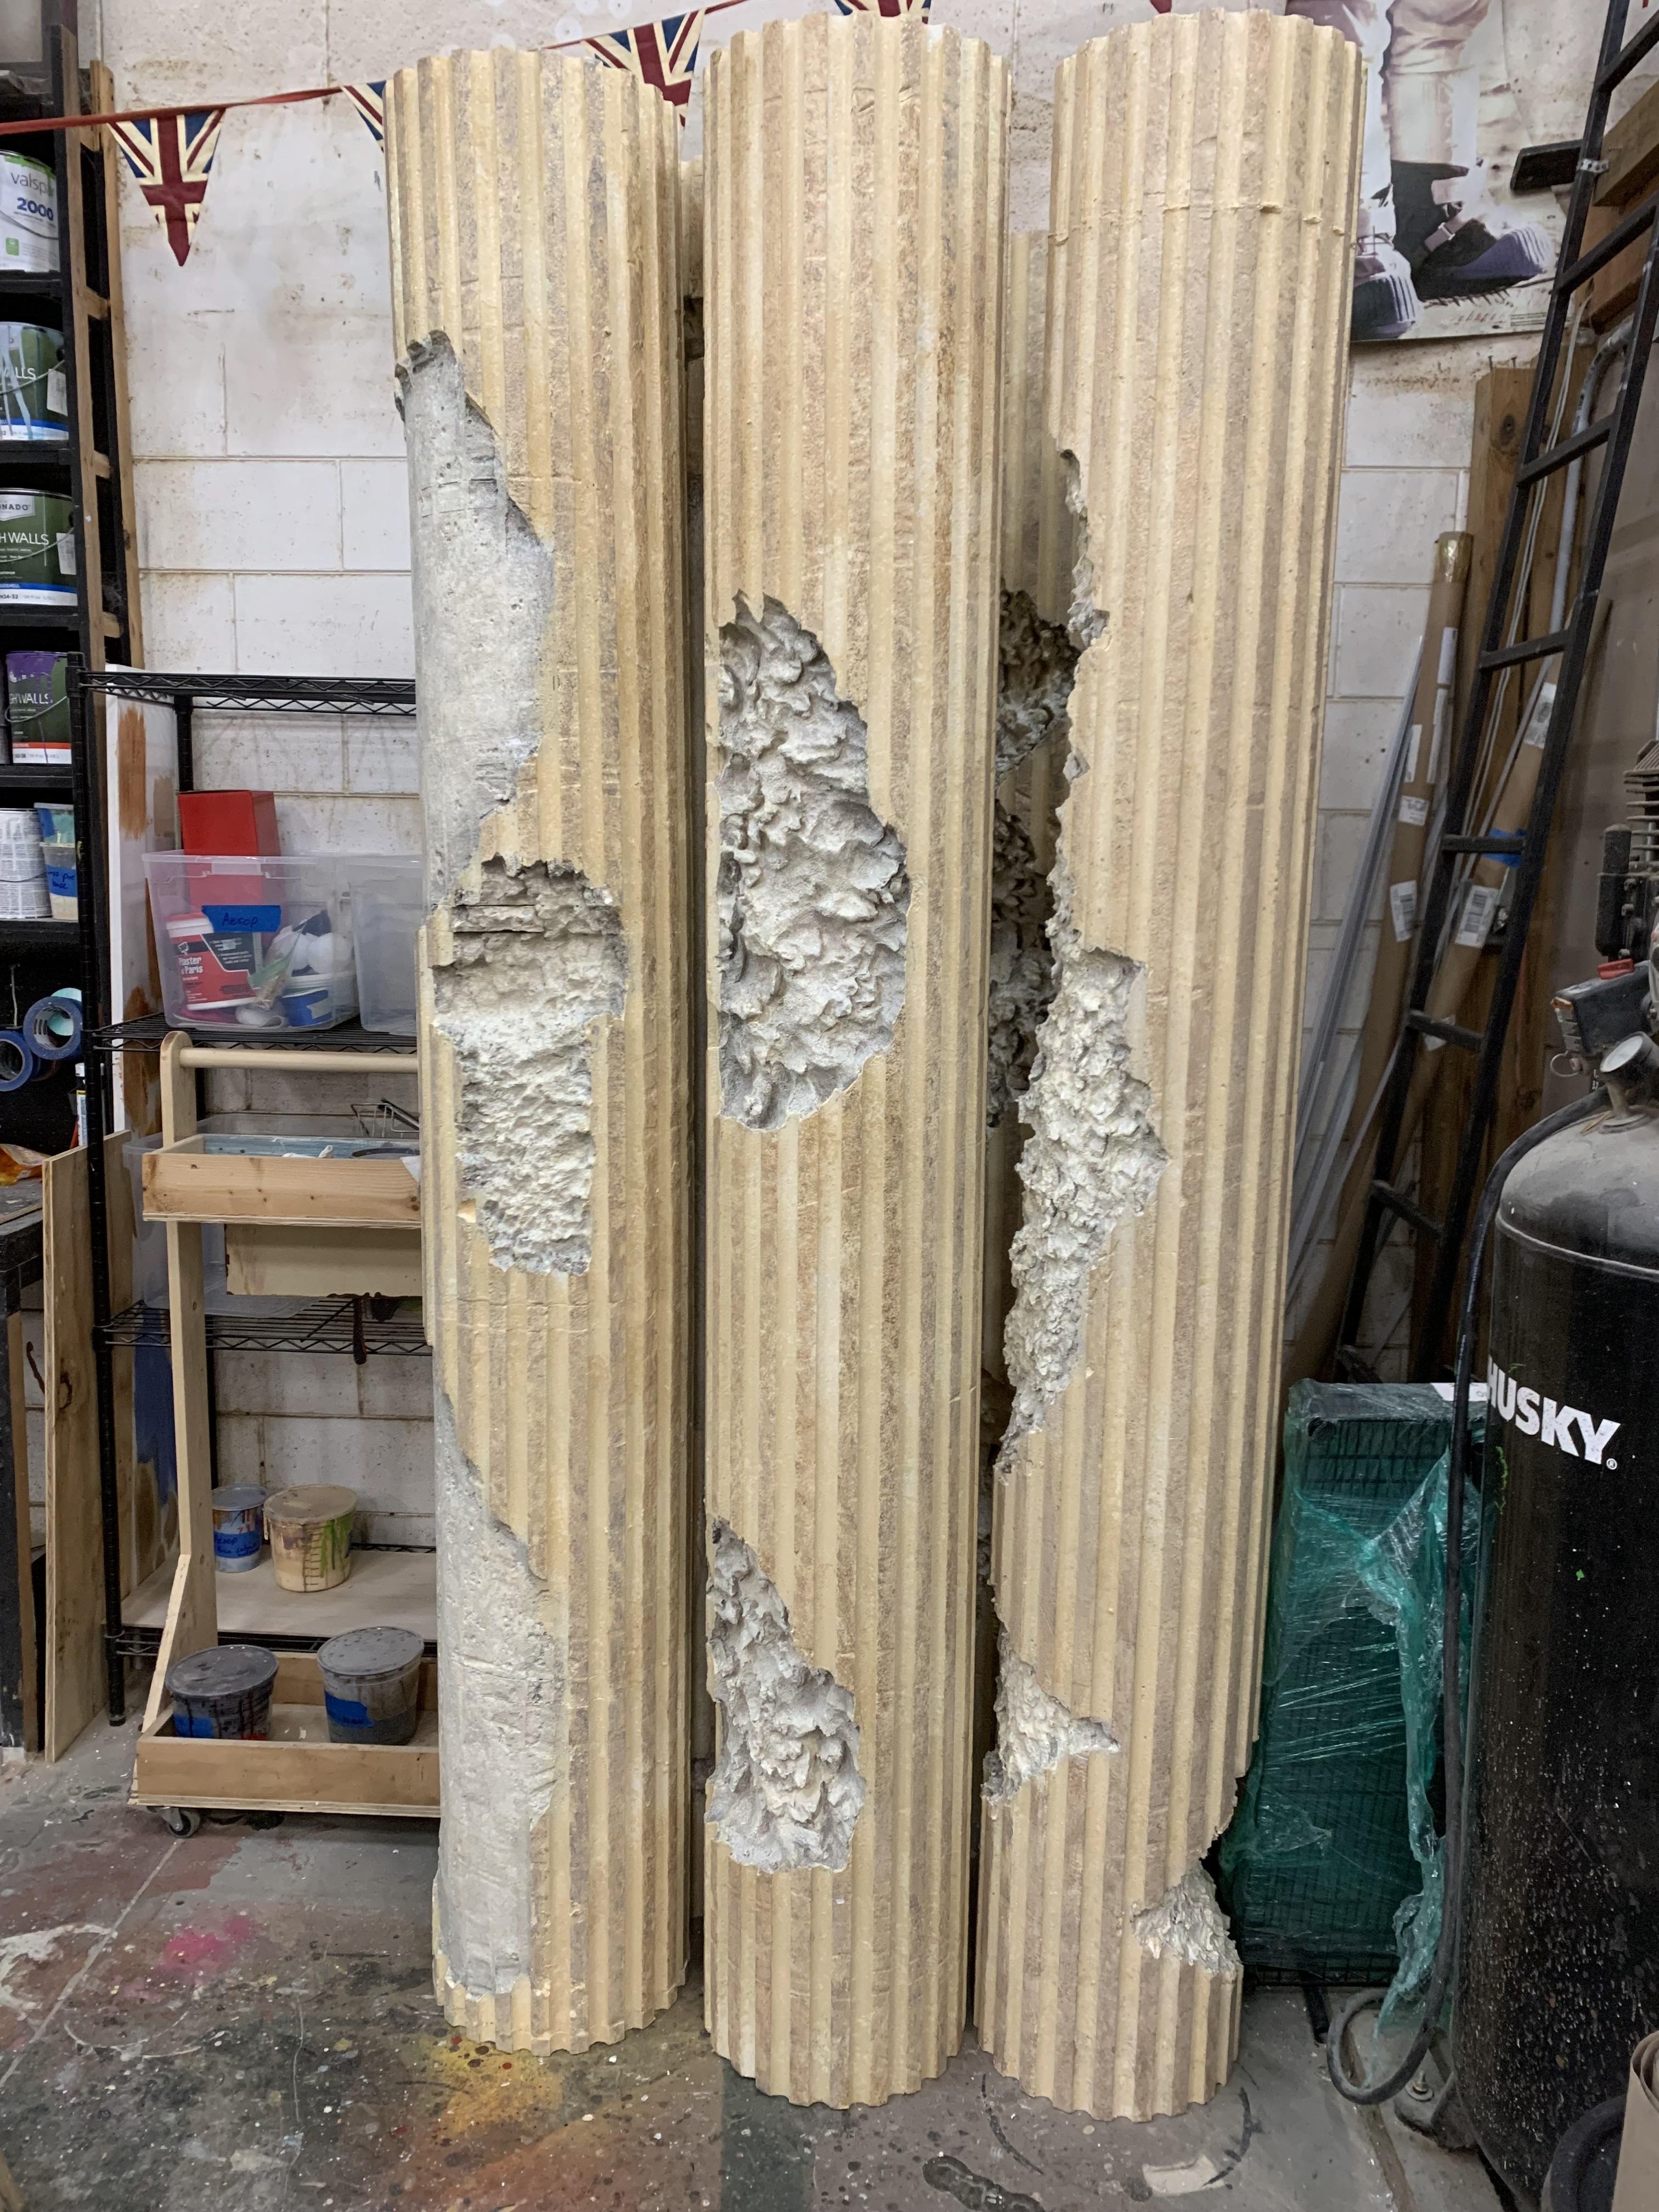
The pillars before painting.

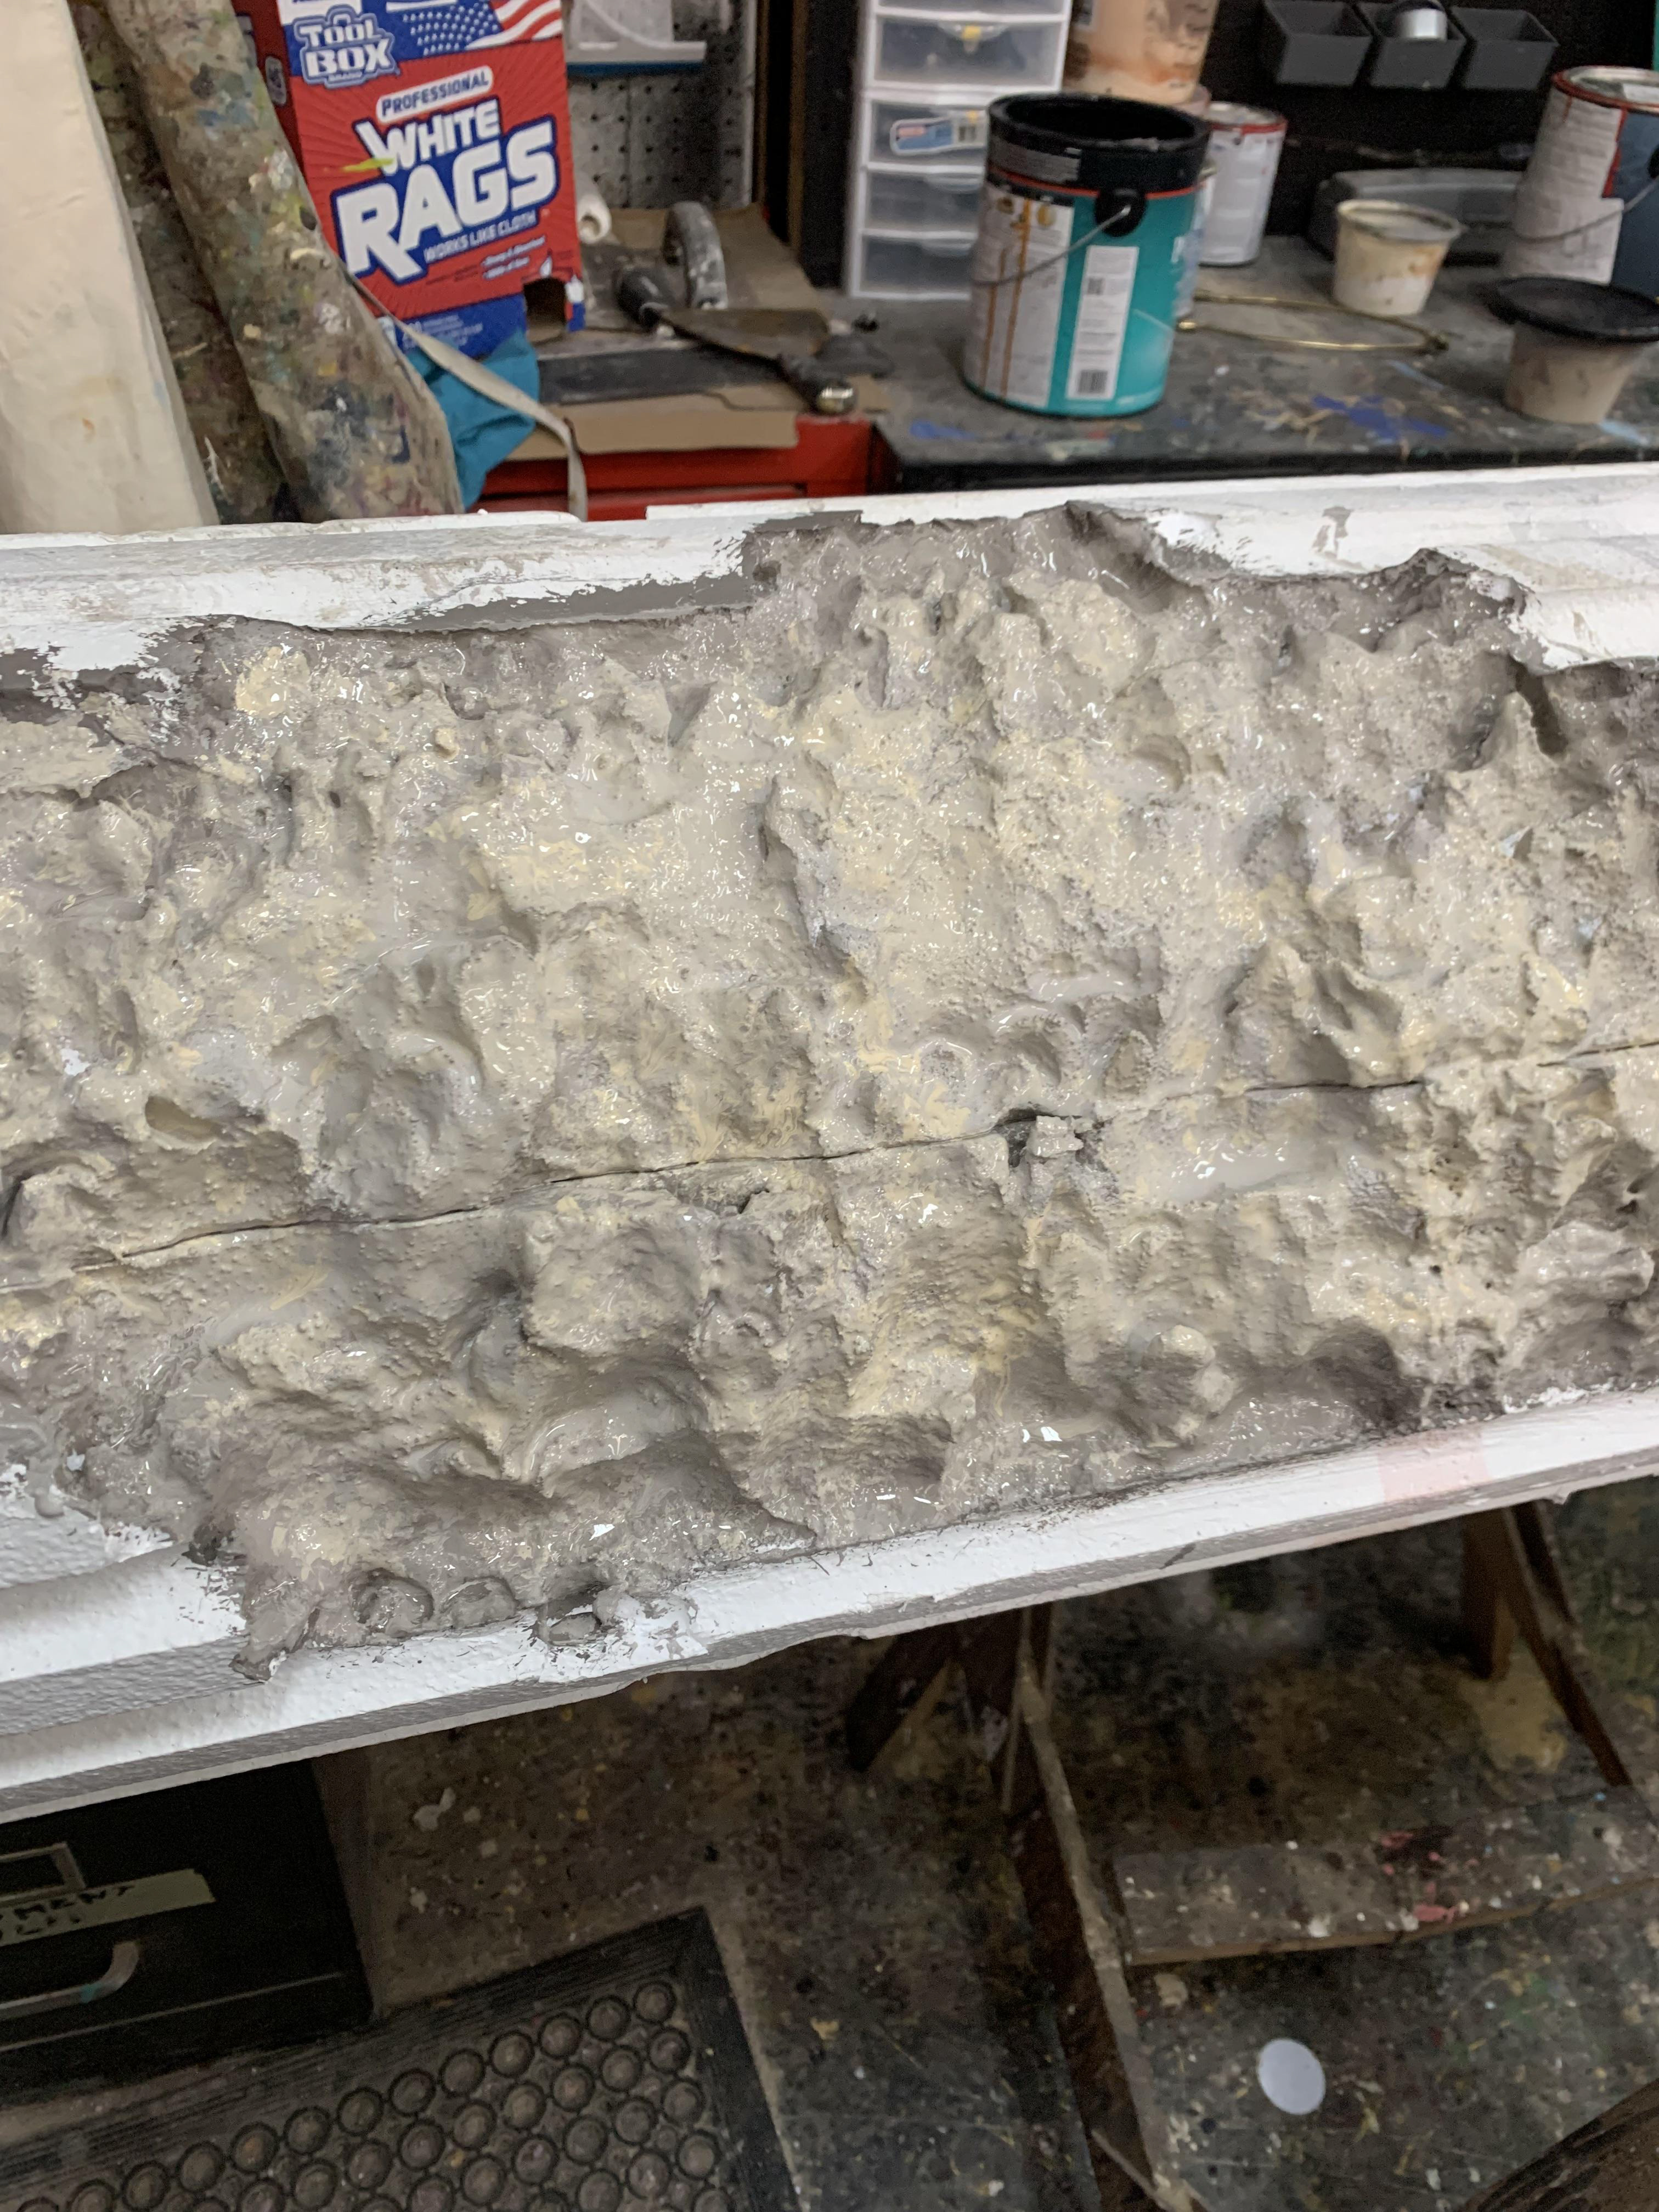
First we brushed on the paint for the rubble.
Added creme and a little highlight.

Next was to sponge on the cremes for the pillar with a variety of shades.
Finally, we used a small sponge to add "dirt" to the ridges of the column. It was then sealed.
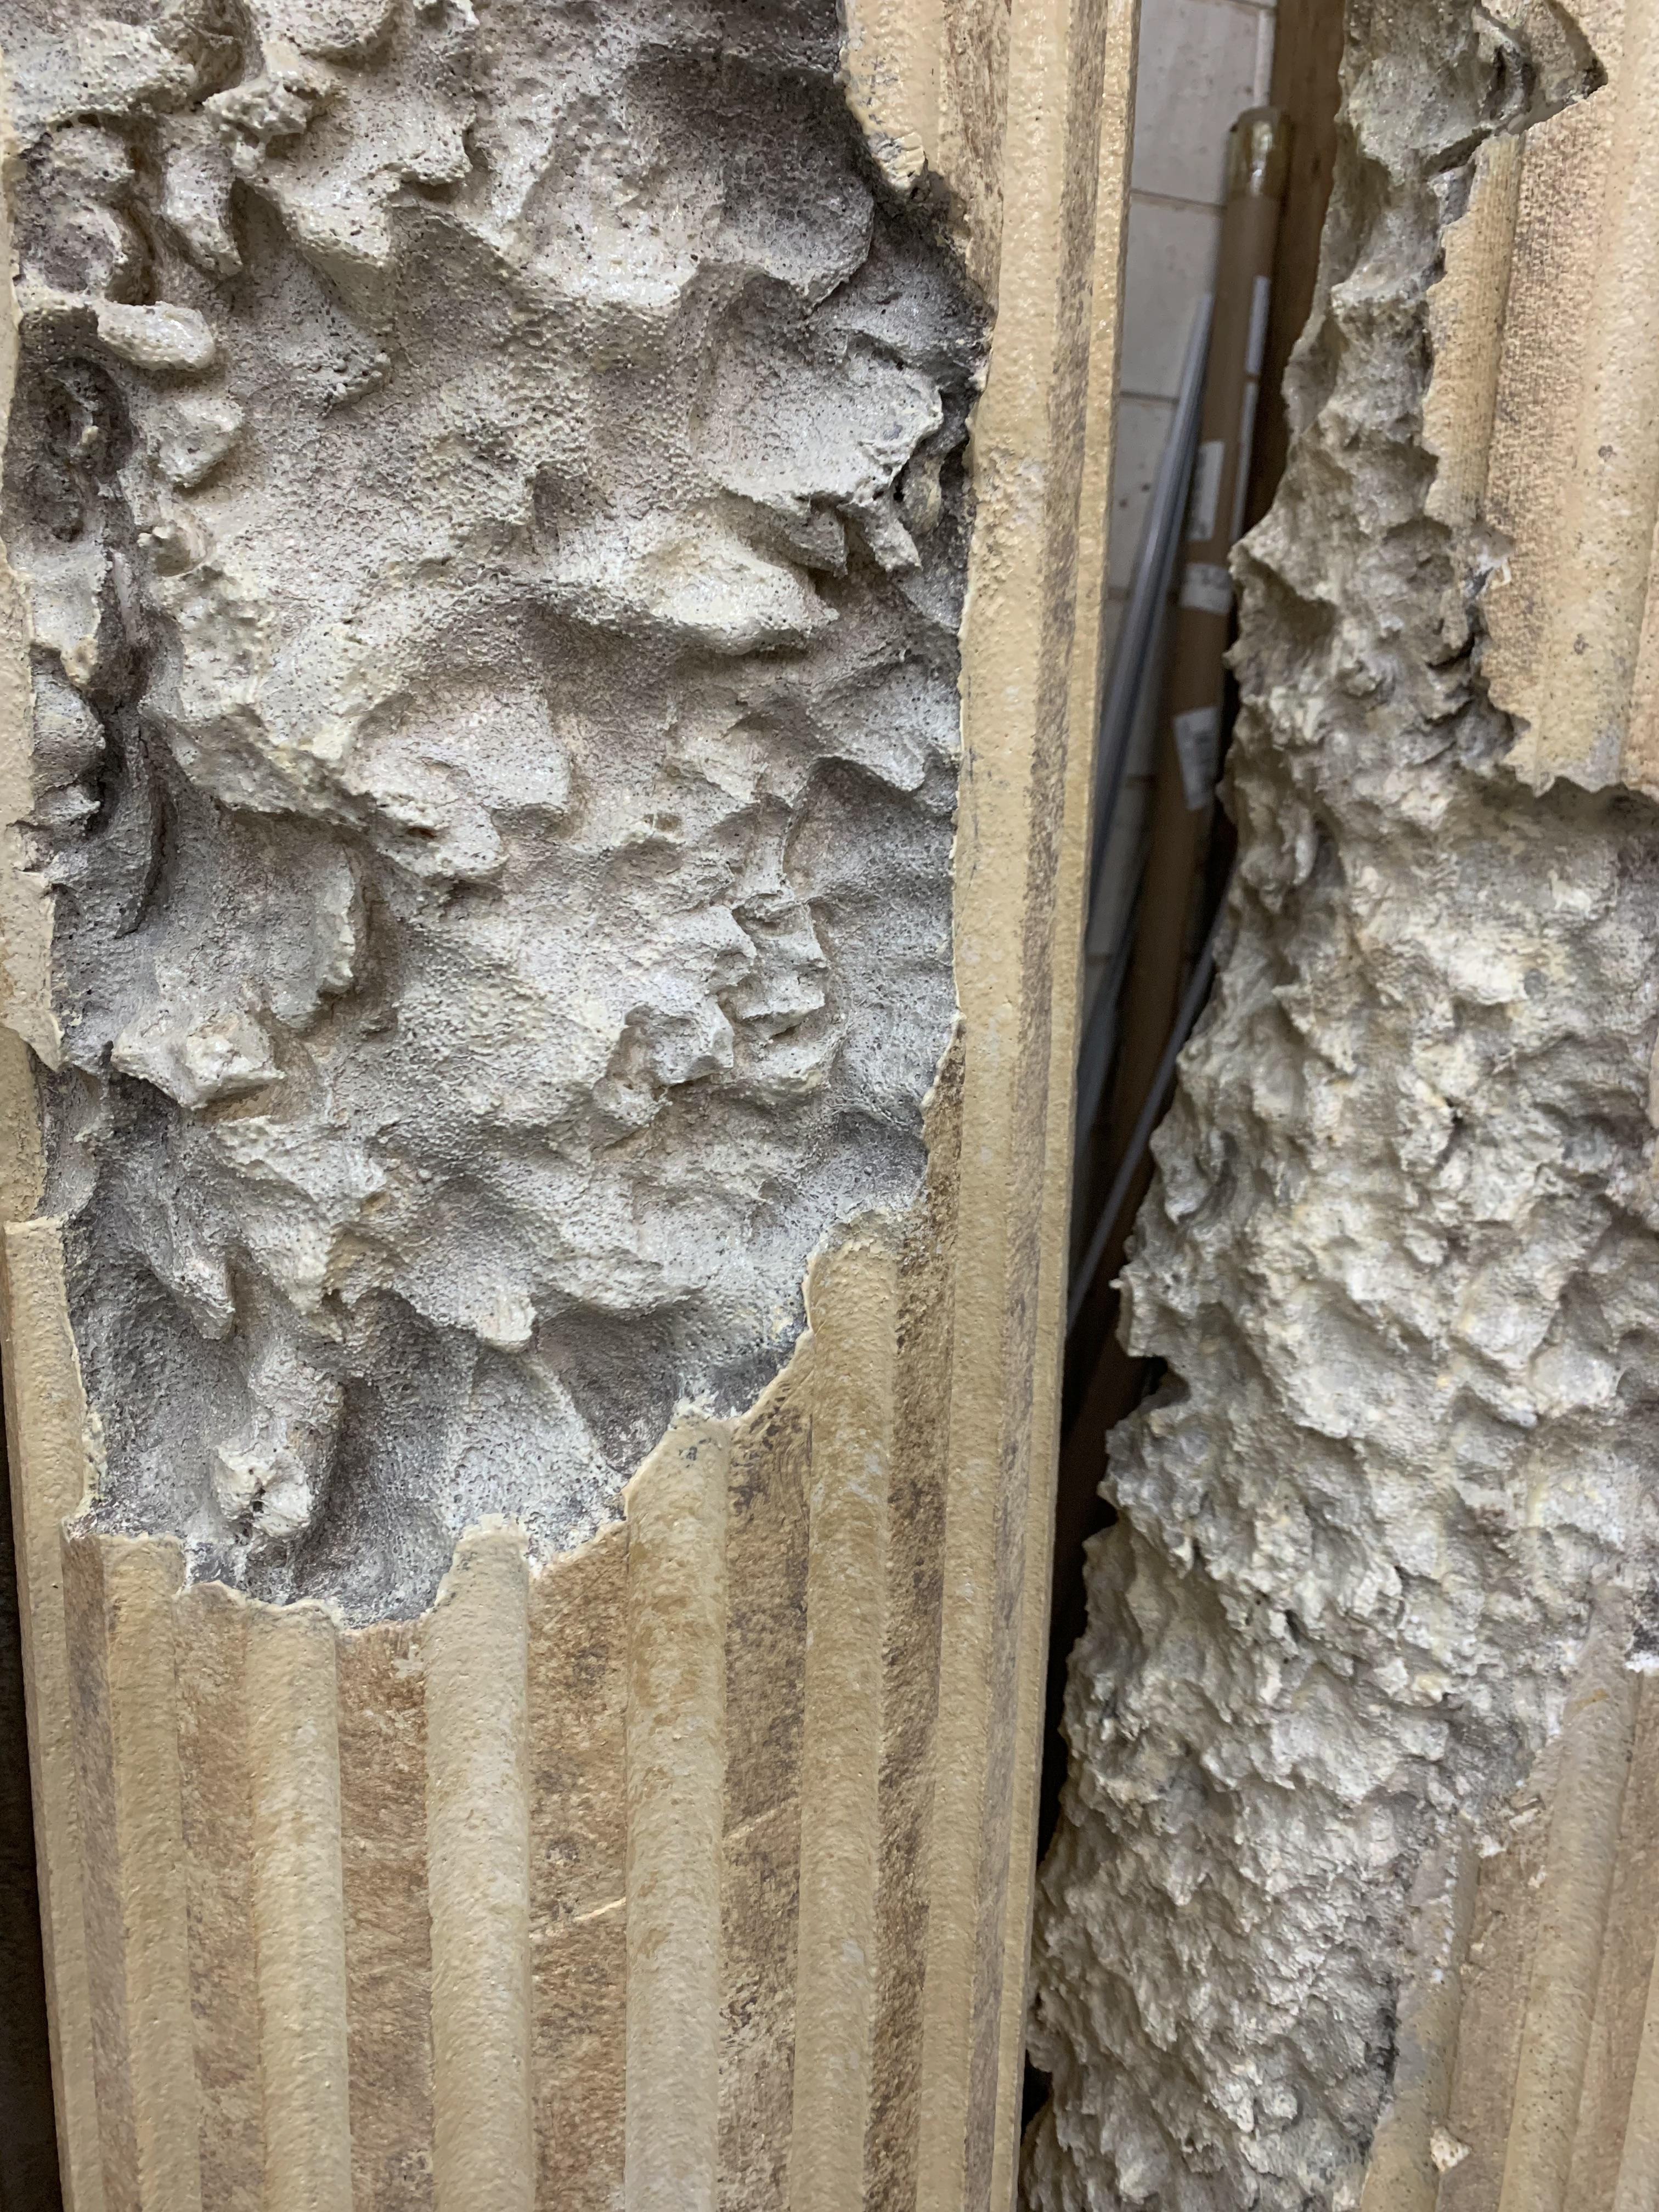
Up close of final painting.
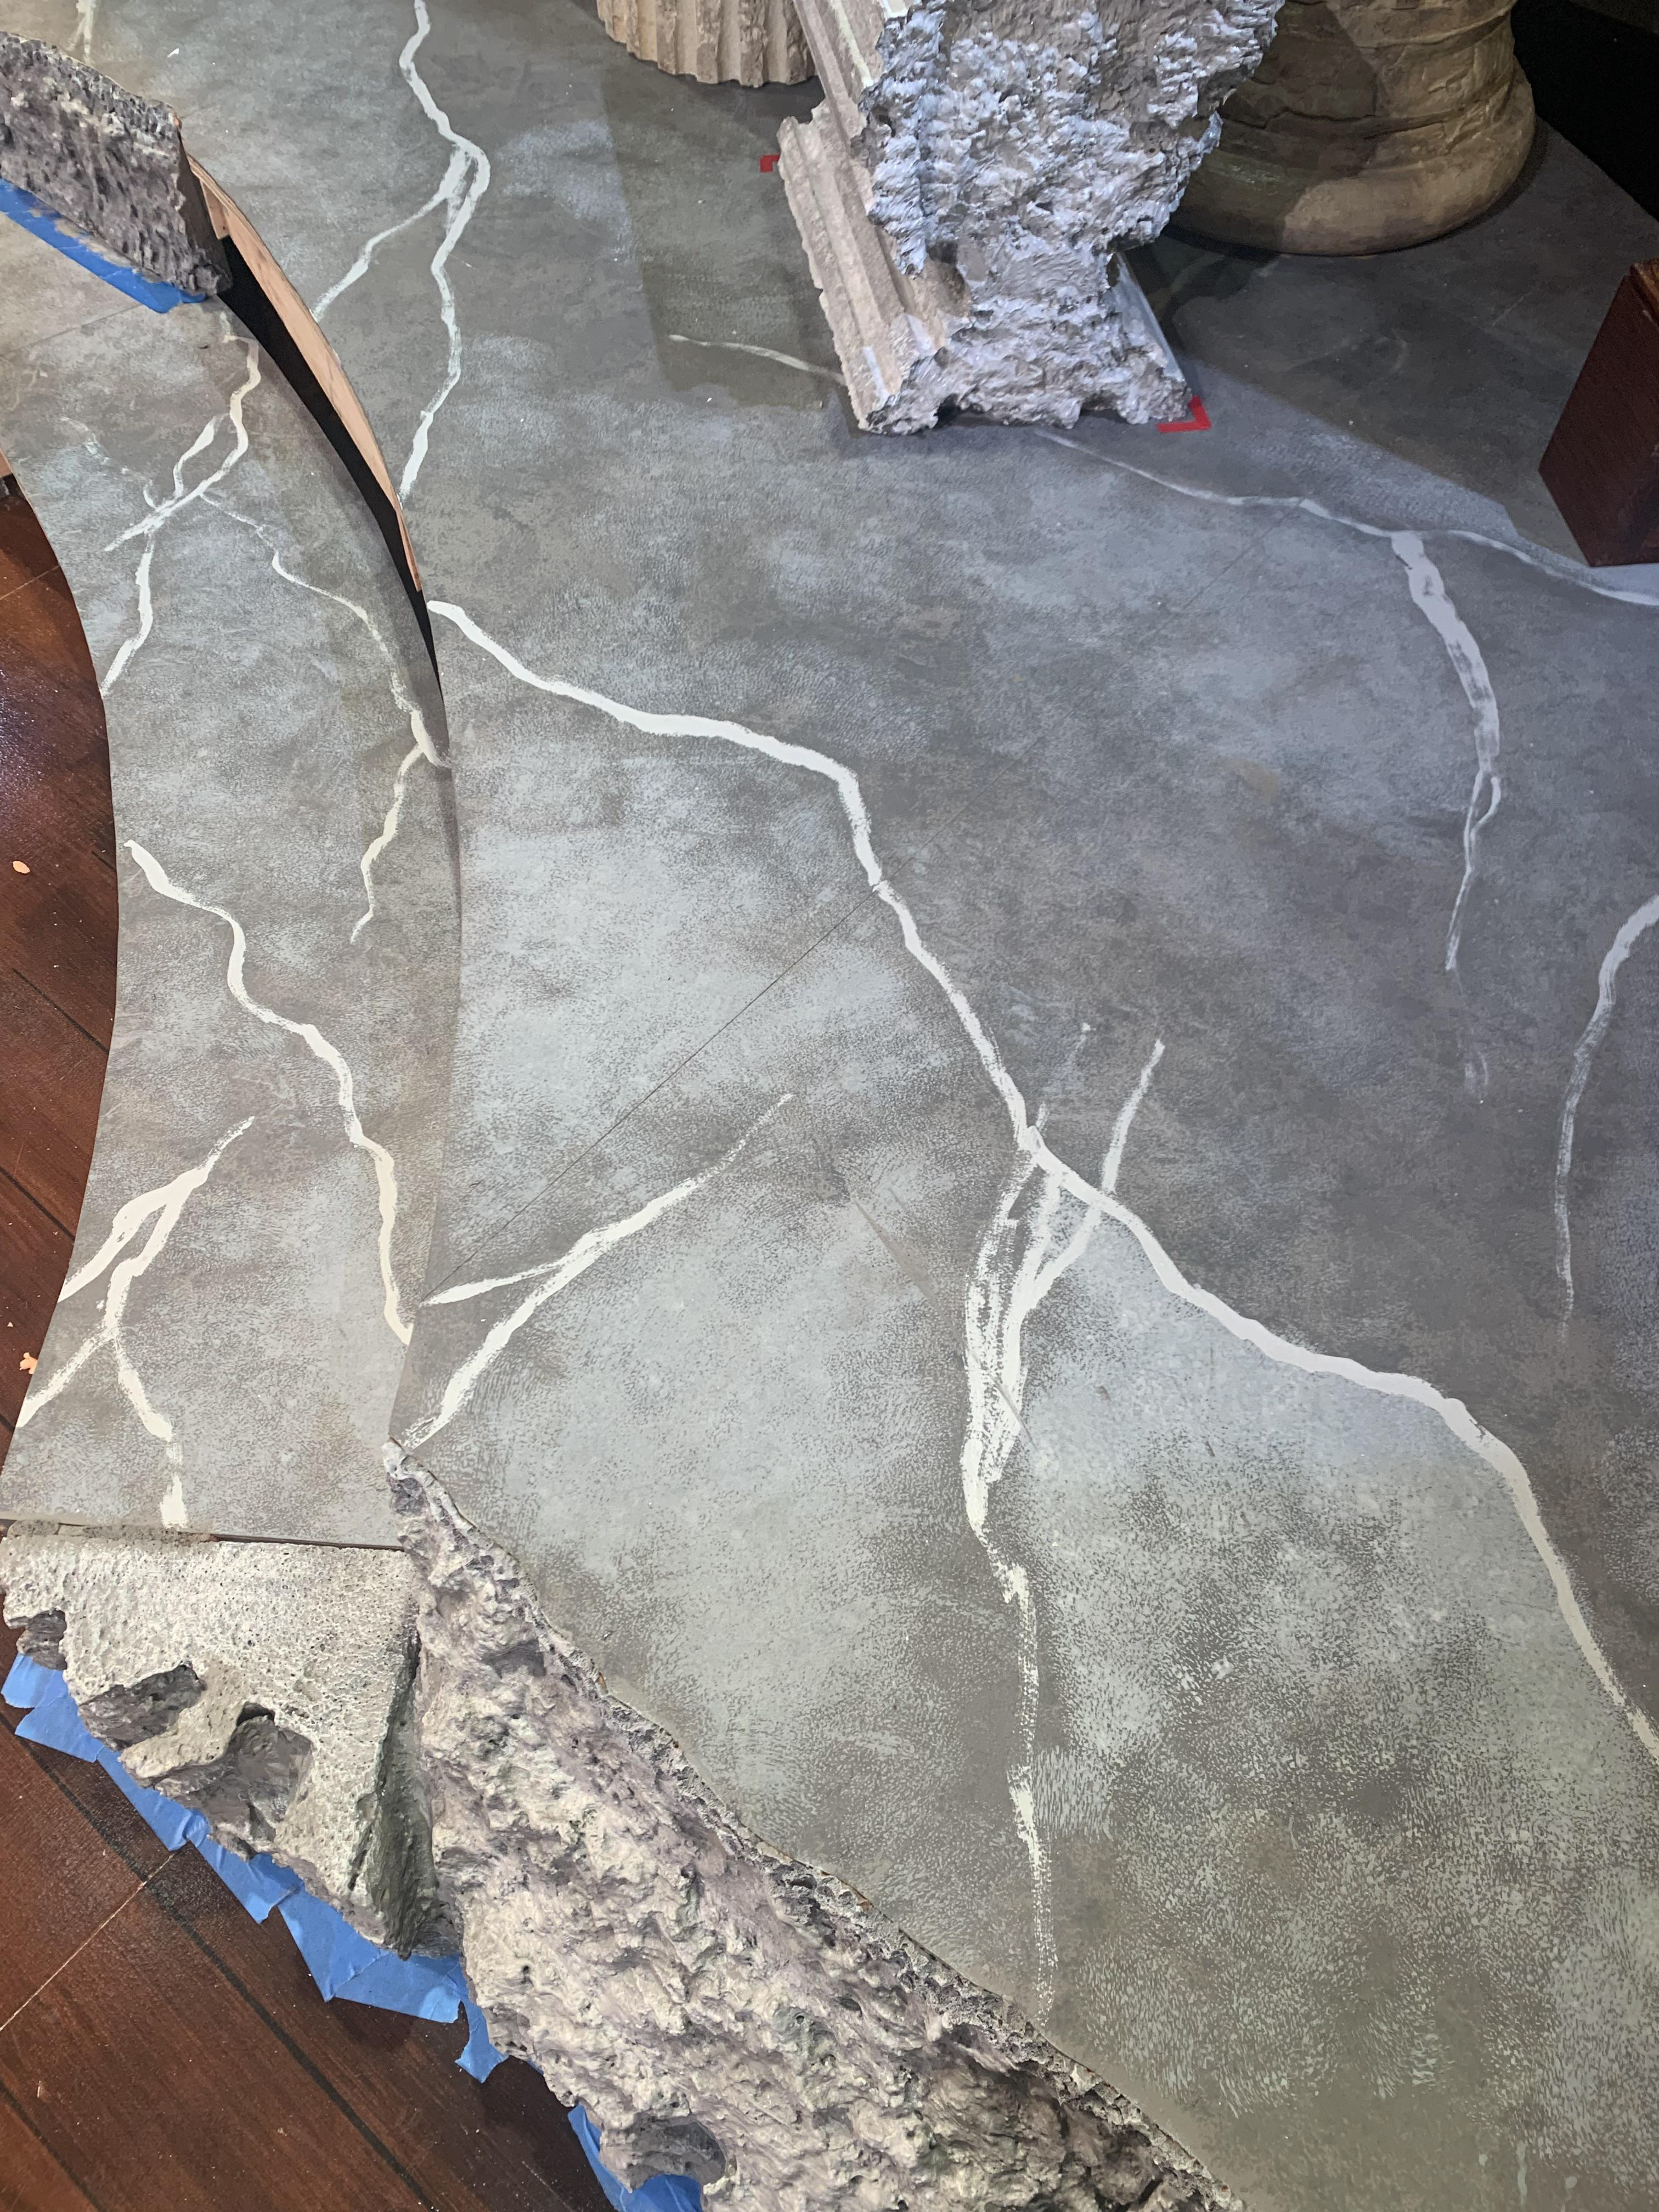
Platform for the stage. We created a marbled stone look using a crusty rag and a fitch brush.
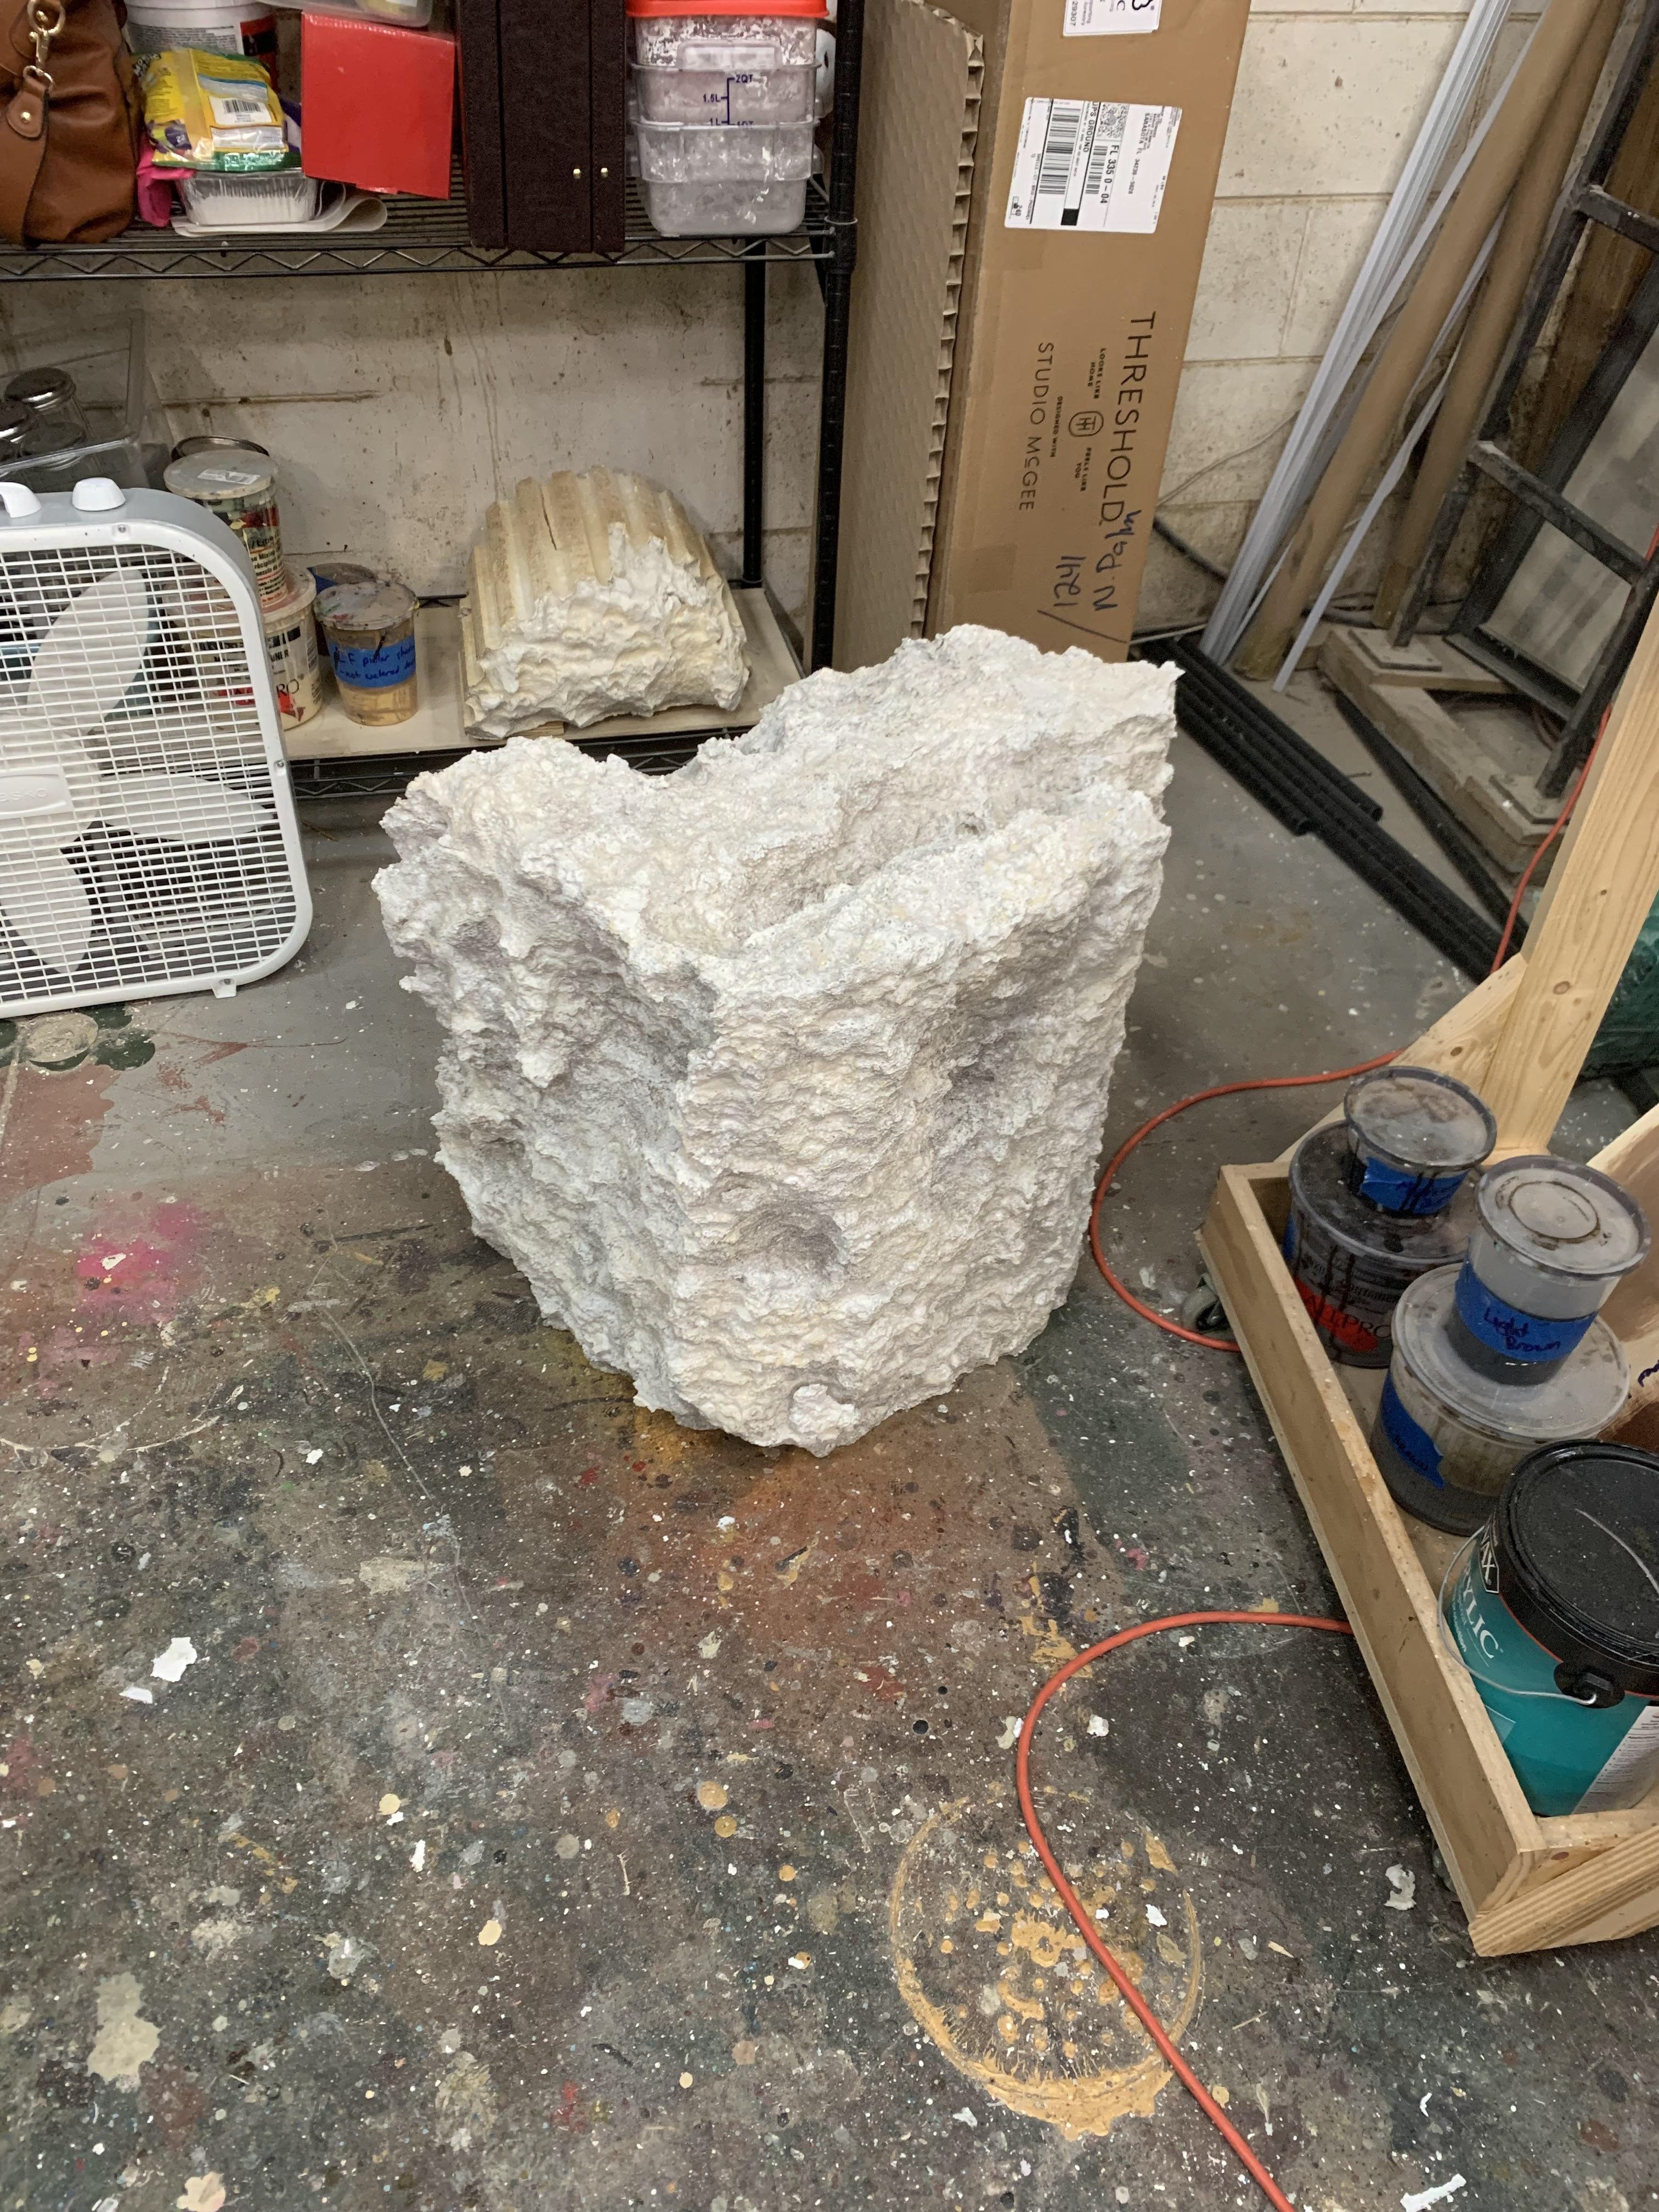
One of the many rubbled pieces of foam we painted.
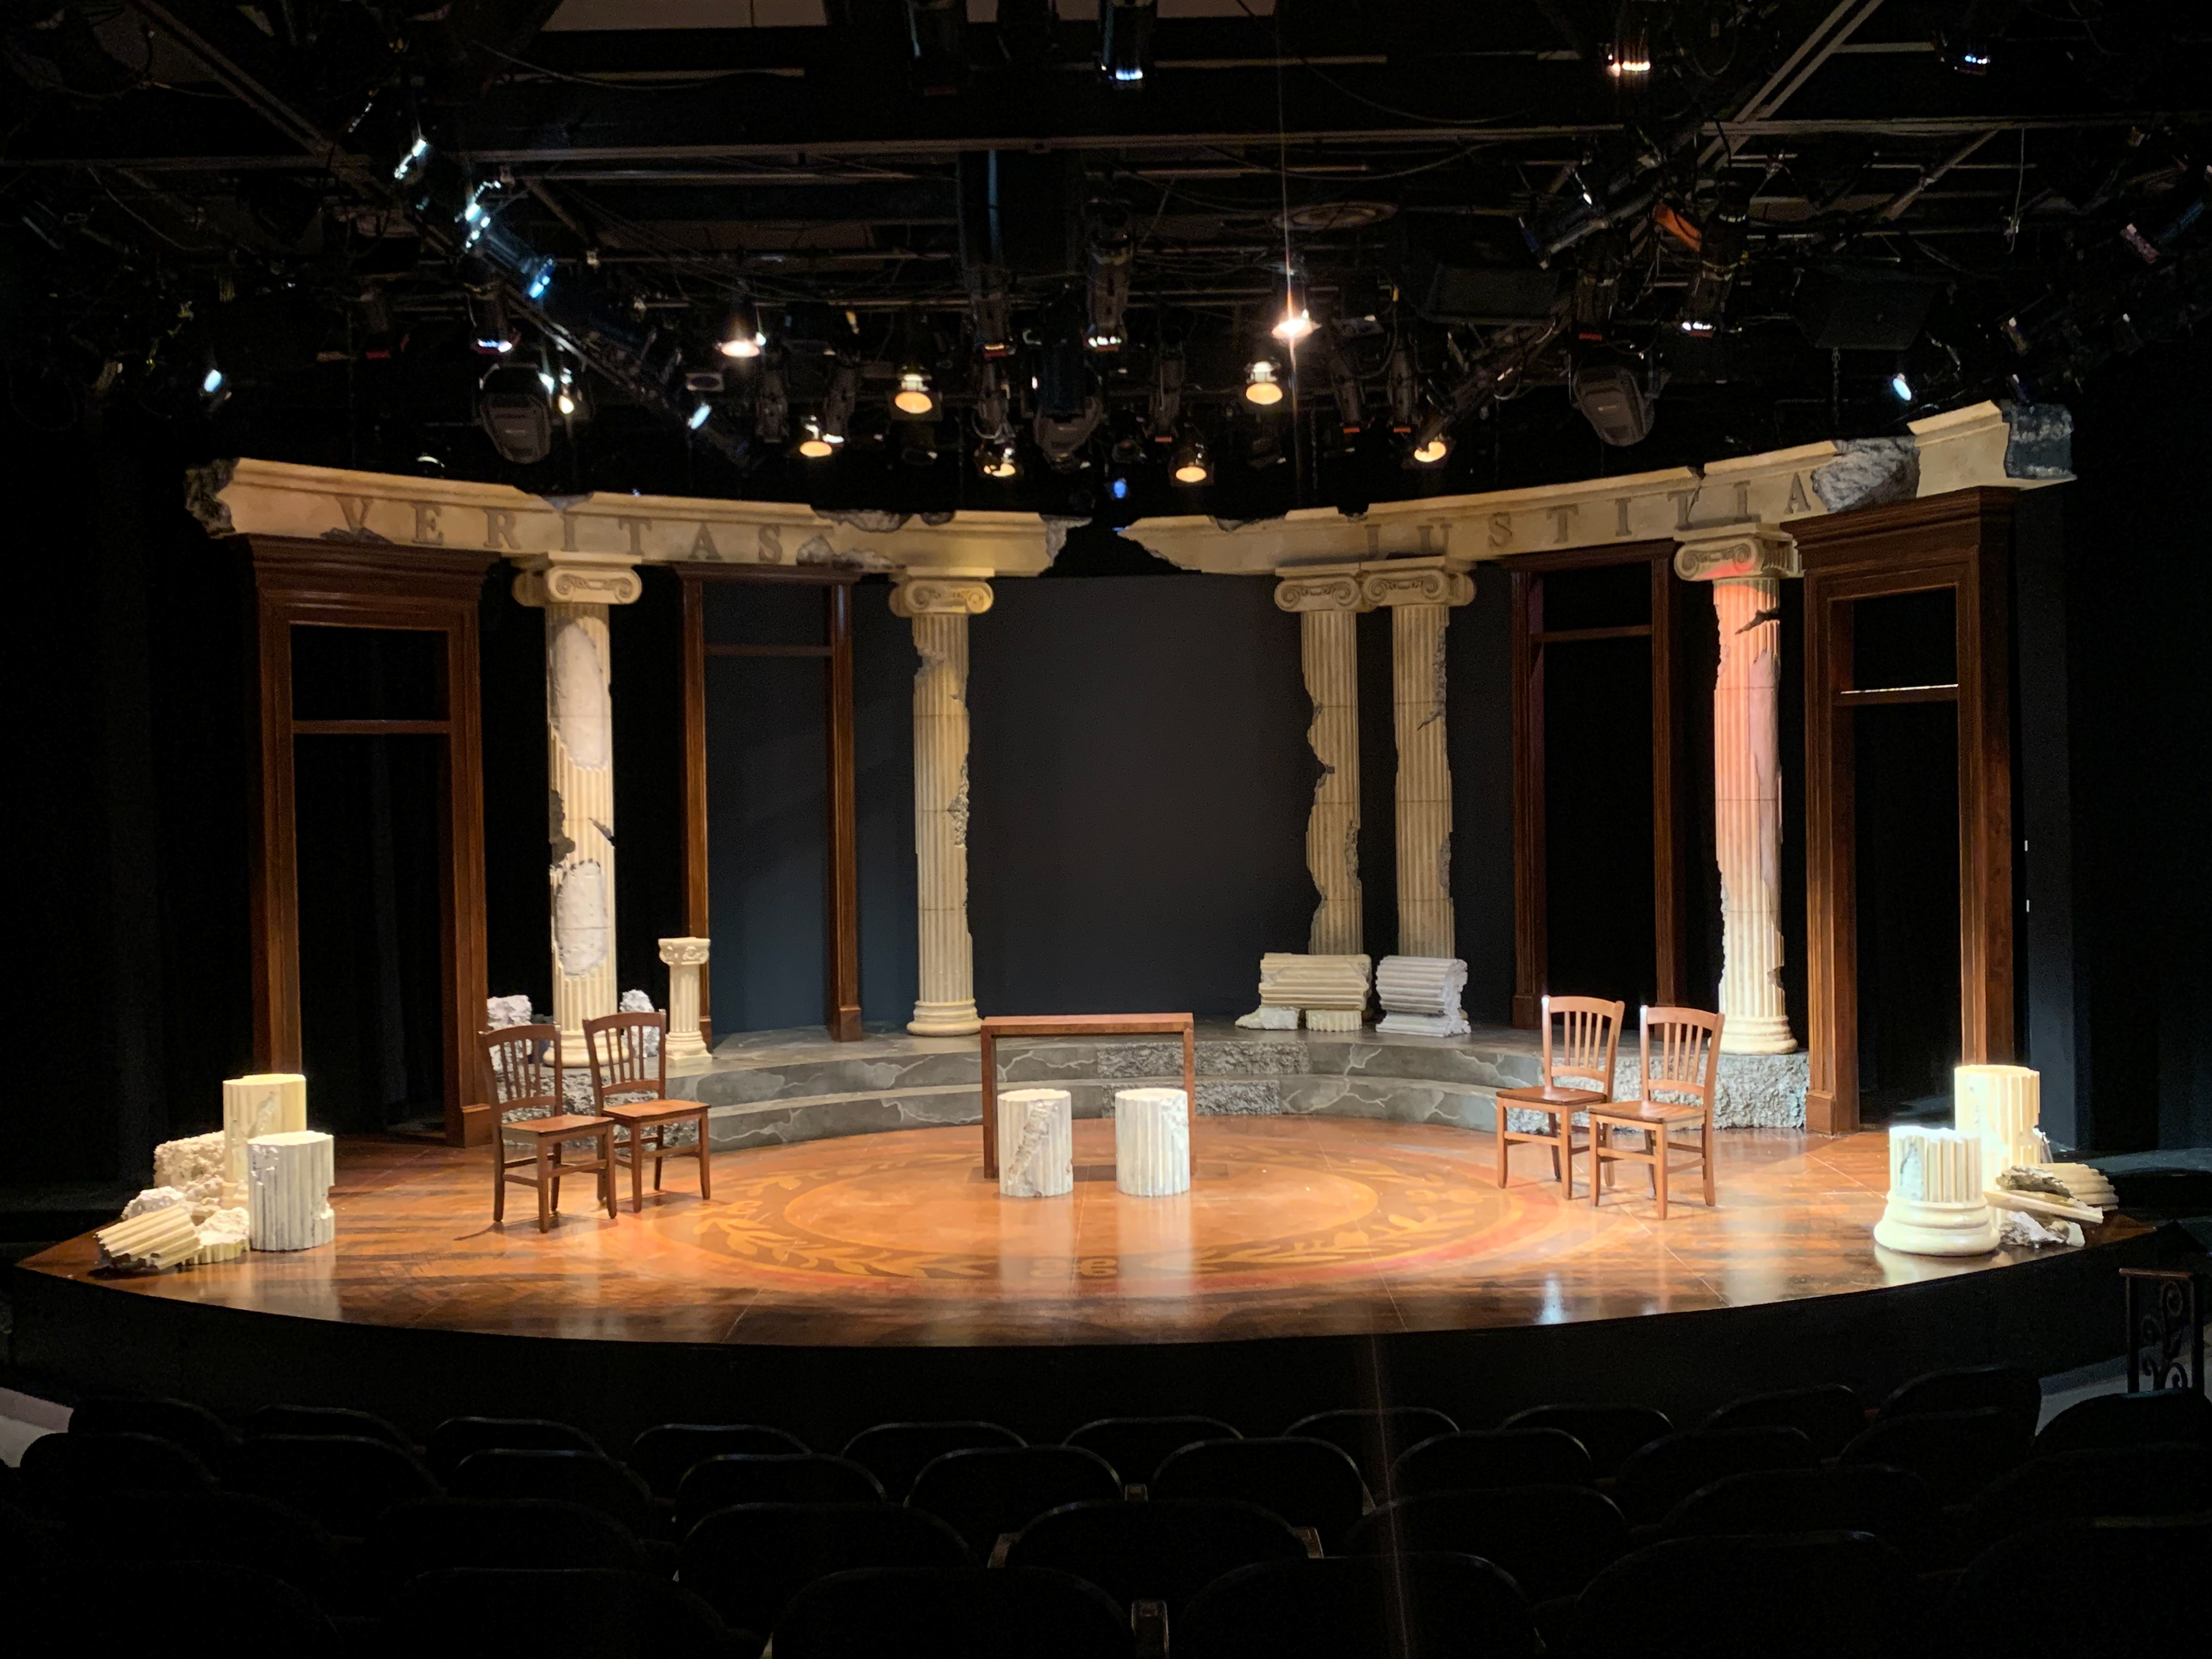
Final stage
Design, AXIS Studios Design
Technical Director, Andrew Patton
Assistant Technical Director, Casey Seiler
Props/Paints Supervisor, Sarah DeSmith
Props/Paints Intern, Kirsten Pruitt

Alternative lighting shot.
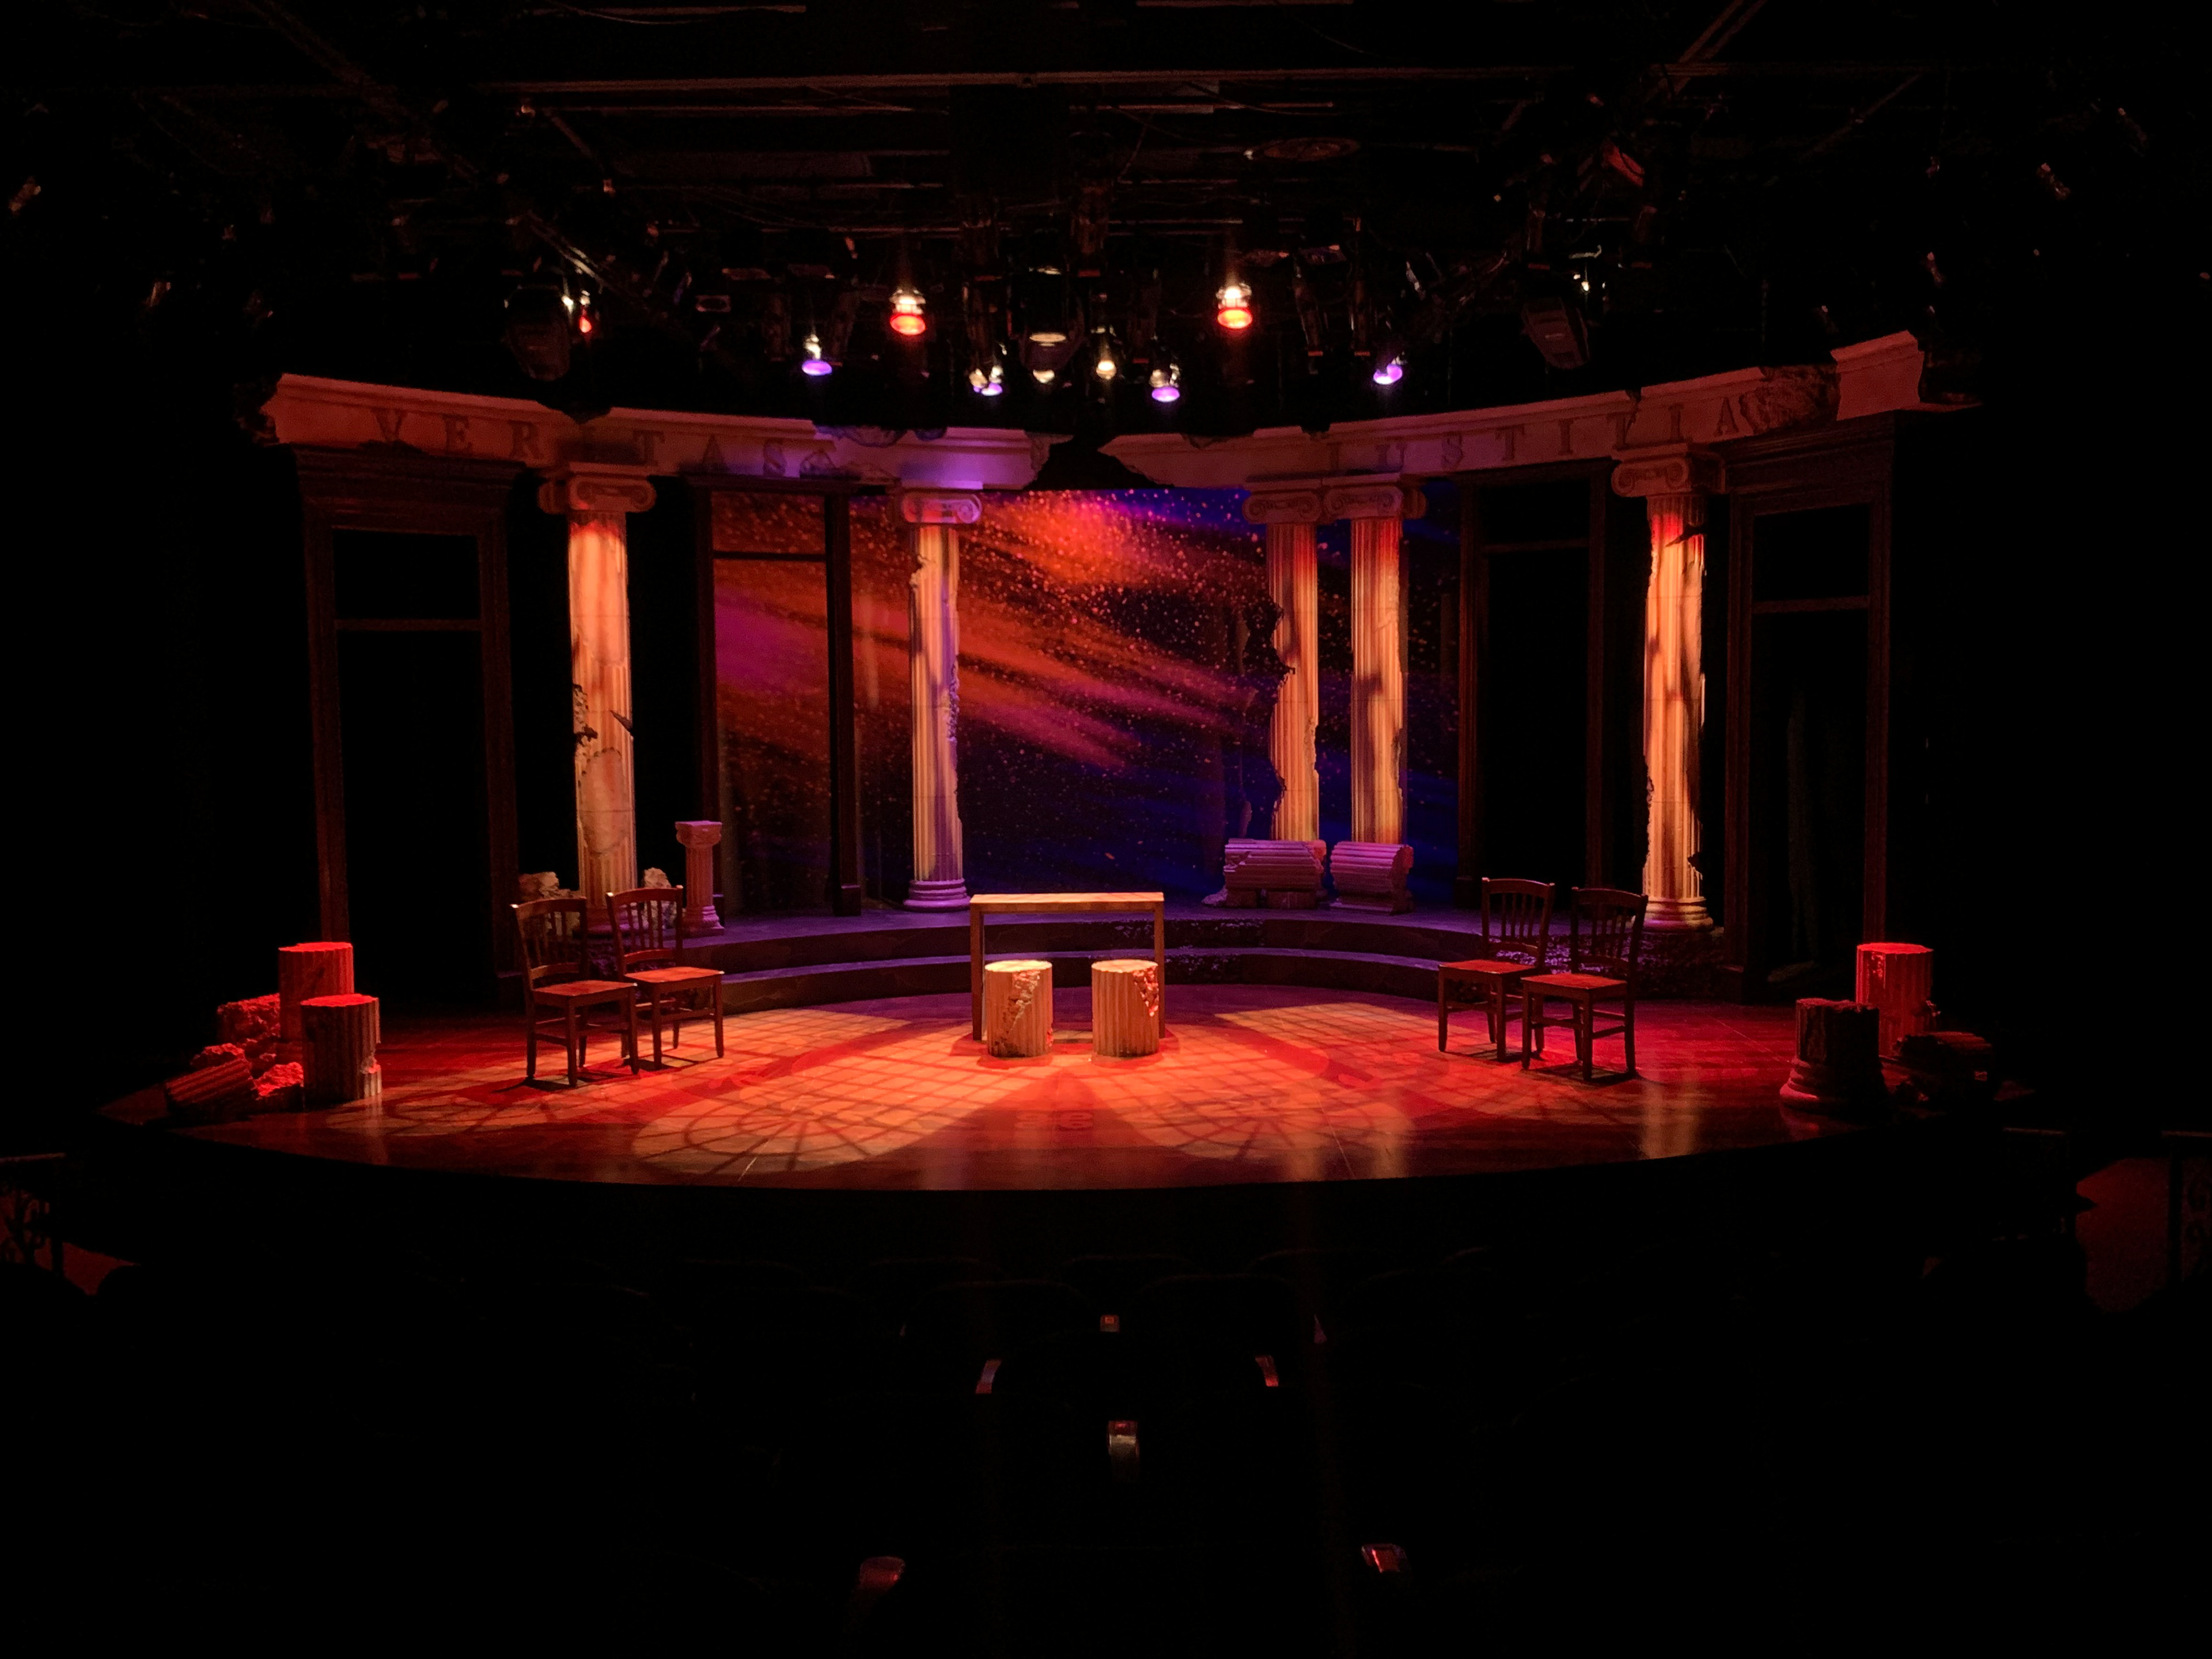
Alternative lighting shot.